

Taking a screenshot is a quick and easy way to communicate what you are seeing on your screen. You can take a picture and send it to tech support if it’s an error. Screenshot tools for the Mac have always been simple to use but limited. If you understood the appropriate keyboard shortcuts, you could capture almost anything. Since the release of Mojave, macOS has included a built-in screenshot tool, similar to what you’d get in Windows. So, let’s get started and understand more about how to screenshot on mac.
How to Take Screenshot on Mac: Different Kinds of Snapshots
Taking a screenshot on mac has become especially continent with the in-built screenshotting feature. The feature does not only let you to take a snapshot of your screen but also allows you to record your screen. Not just this, but you can also capture a particular region of your screen. This cool feature also automatically saves your screenshot to your gallery.
Entire Screen on Mac
- In order to capture the entire screen, you need to press and hold the Shift + Command + 3.


- Soon you will be able to see a thumbnail of the screenshot you just captured at the bottom right corner of your screen.
- If you wish to edit the screenshot and doodle on it, click on the screenshot. In case you just want the snapshot to save as it is, you can simply wait for the thumbnail to disappear. The screenshot will be saved automatically after the thumbnail disappears.
A Specific Part of Your Screen
- Use the Capture Selected Window button on the toolbar, or hold down the Shift + Command + 4 keys at the same time. Your cursor will change to a cross-hair symbol.

- Drag the cross-hair sign across the screen to select the region to be captured. To move the selection, press and hold the Space bar while dragging. This method keeps the chosen area’s shape and size but allows you to move it around on the screen. If your original selection region is a few pixels off, simply use the space bar to reposition it before releasing the mouse button to take a screenshot.


- If you’re in the middle of step 2 and decide you don’t like the crop of your choices or for any other reason, you can cancel the screenshot by pressing the Esc (Escape) key.
- Release the mouse or trackpad button to take the screenshot.
Before capturing an image, you can modify the form, size, and position of the selected area by holding down Shift, Option, or Space Bar.
Capture a Specific Window or Menu
- Open the window or menu that you wish to capture.
- You need to press and hold the Shift, Command, 4, and Space bar. A camera icon will replace the pointer. Press the Esc key to stop the screenshot from being taken.
![]()

- To capture a window or menu, click it.

- Press and hold the Option key while clicking to remove the window’s shadow from the screenshot. To edit the screenshot, click the thumbnail in the corner of your screen. Alternatively, you can wait for the Mac system to save your screenshot.
- Now you will see a thumbnail of the screenshot you just took in the bottom right corner of your screen.
How to Screenshot on Mac using the Touch Bar!
If you’ve got the 16 – inch MacBook Pro or another model with the Touch Bar, you can easily take a screenshot. To snap a broad and skinny screenshot of your Touch Bar, simply press and hold together Command, Shift, and 6.


You can even create a dedicated button for taking screenshots.
- Go to Keyboard under Access System Preferences.
- Then Select “Customize Control Strip” from the drop-down menu.
- Next, choose a position on the Touch Bar for your screenshot button, drag & drop it there, then save the adjustments.
You can now screenshot on Mac using only your Touch Bar.
In the Shortcuts pane of Keyboard settings, you can customize these keyboard shortcuts. To do that, choose the Apple menu, go to System Preferences, then Keyboard, then go to Shortcuts on your Mac.
How to Screenshot on Mac using Third-Party Apps
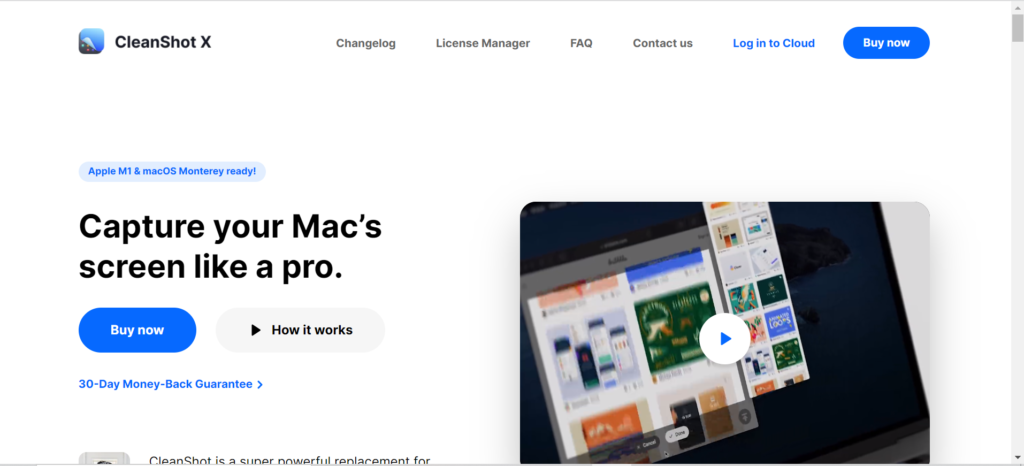
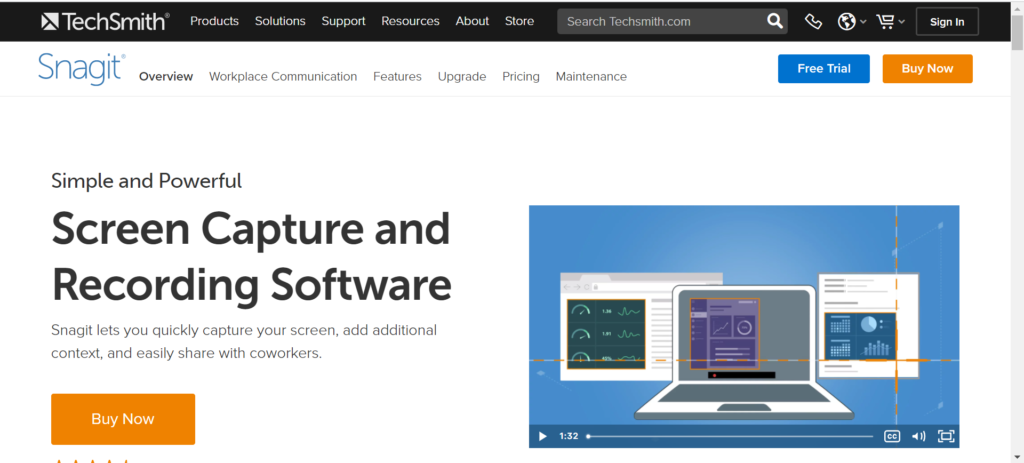
If you are not comfortable with any of these methods, you can try to take a screenshot on your Mac using a third-party screenshot app. Two of the apps tailored for this purpose are CleanShot X and Snagit.
CleanShot X is a software that is customized for more than 50 distinct adjustments, making it the best screen capturing tool for Mac. CleanShot X can capture a window, entire screen, area, or even scrolling content on the screen, as well as record video and GIFs. CleanShot X can help you personalise nearly anything by allowing you to add comments, blur select sections, or sketch.

TechSmith Snagit allows you to capture a process, explain it, and produce visual instructions rapidly. Snagit is also the only screen capture software that includes advanced image editing and screen recording capabilities. As a result, you can quickly and effortlessly generate high-quality photographs and videos using just one tool. However, this is a paid app, you need to pay a nominal fee in order to access the app’s services.

- Best Ways to Delete “Other Storage” on MAC
- How To Recover Deleted Files From Mac
- How to Transfer Files Between Your Mac & iOS Device
- Download Aptoide For PC & Laptops – Windows/Mac
Conclusion
Today we have seen how we can capture screenshots on Mac devices. Mac devices are often considered difficult to use.
However, it actually isn’t as difficult as it seems. Well as we come to the end of this article, we hope that you learnt how to screenshot on mac!