Whoever has said being an influencer is not a hectic job mustn’t have tried it. Most people don’t know, but they have to spend hours behind making a video that is only 30 seconds long. And it is an absolute nightmare to put those efforts into uploading a video that one thought to be a high quality reels turns out to be a blurry tragedy. The quality has degraded after the upload, overall the transition has lost its charm, and the result isn’t worth all the hours on it.
However frustrating it may be, believe it or not, it happens to the best of us. And thus, we are here to give you a complete guide on uploading high quality reels on Instagram with the best editing techniques.
What are Instagram Reels?
The vertical video feature that you see trending on every social media platform first appeared on Instagram in 2020. These were called Instagram Reels. While the idea is more or less taken from TikTok, Instagram has tried to personalise the feature by discernible effects, transition, and editing tools that set reels apart from TikTok or YouTube shorts.
Instagram allows users to create a reels no longer is no more than 60 seconds. Furthermore, it enables users to scroll reels according to their taste from a dedicated reels section on their For you page.
How to Upload Instagram Reels
Adding Reels on Instagram is not much of a hassel. The real work comes in editing the reel. Here is a brief guide on how to upload reels on Instagram.
- Open your Instagram and click on the + icon in the top corner.
- Now you’re in the upload section to create a reels slide to the reels tab.
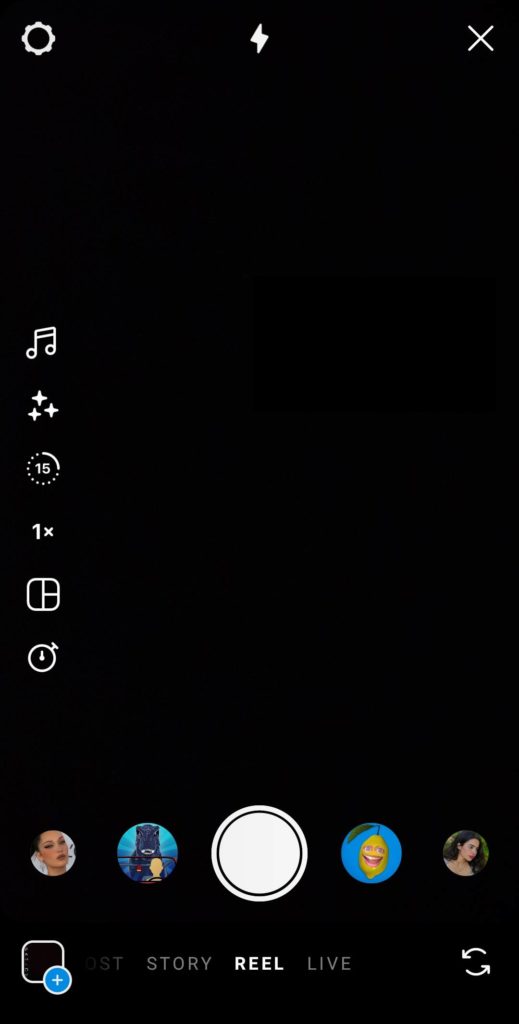
- Here you can change your reels’ time duration, effects, and filters.
- Press the record button to start, and the camera will automatically stop recording once the time is up.
- And that’s it, the reel is recorded. You can use the options available on the next page to edit and upload.
Tips for Uploading High Quality Reels on Instagram
Content creators have been blessed with the introduction of Instagram reels that drives them more audience them ever before. Suppose a creator keeps their reel brief that holds the attention of audiences for even 1 minute; the chances of getting viral increase tremendously. And they don’t even need a professional setup to shoot these videos, thanks to the various transitions and editing tools available on the platform.
Generally, Instagram automatically uploads reels in the best quality possible according to the user settings. However, the following tips will help you elevate the experience and upload high quality reels on Instagram.
Aspect Ratio and Resolution
To create a high quality reel, the suggested settings are:
- Keep the aspect ratio: 9:16
- Resolution of the video must be 1080×1920p.
- FPS (frames per second) must be set to 30.
Change The Data Usage Settings to Upload High Quality Reels
If setting the aspect ratio and resolution, as described above, doesn’t work for you, then changing the Instagram data usage option from the app’s settings might help. Most average users are unaware of this trick and presume that they will need a high quality camera to upload reels like the verified account holders. But in reality, this is the trick that helps influencers upload high quality reels on their page.
This is because the high quality settings are turned off in the app by default to lower internet consumption, and in the case of mobile data users, the option is disabled. But worry not, because you can easily switch it back by the following method:
- Turn On the Instagram app using your phone.
- Then tap on your profile icon.
- Click on the three horizontal lines icon to lead to the menu and choose Settings here.
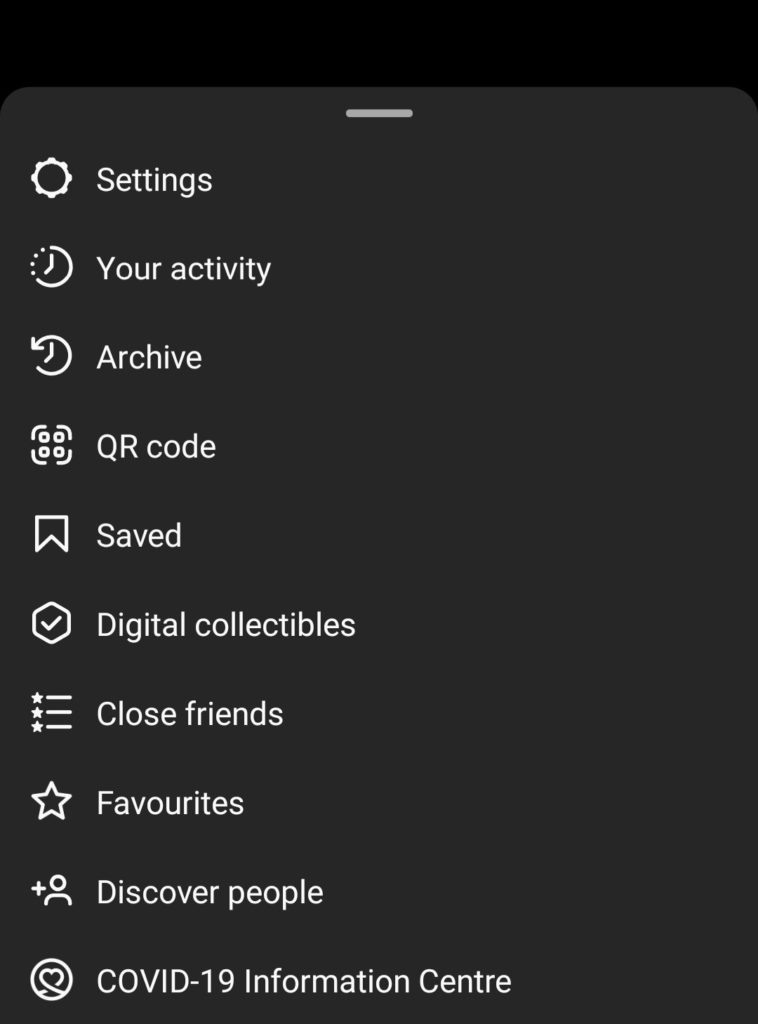
- Under Settings, go to Account.
- Select mobile data use in the accounts settings.
- Turn on the toggle for upload media at the highest quality.
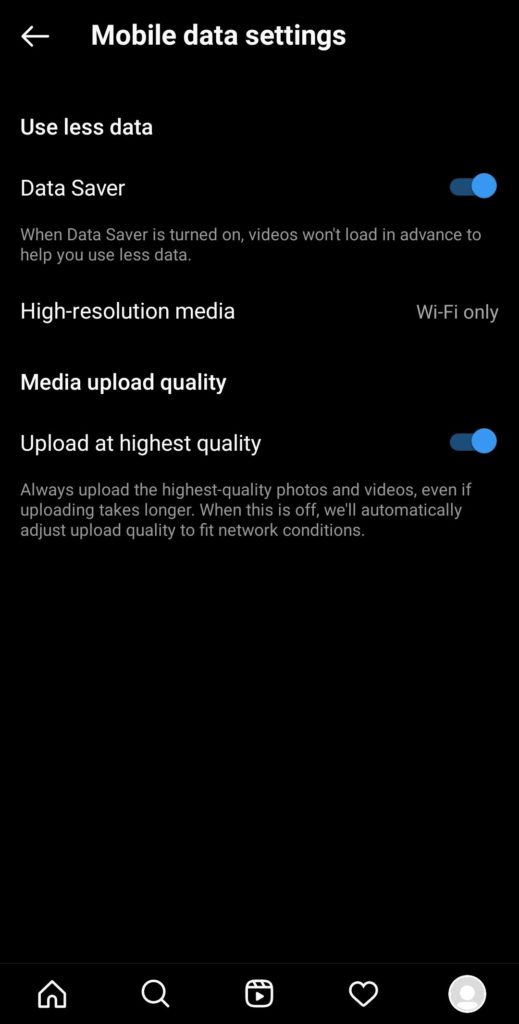
- Then, tap on the data saver toggle button, and then select the now visible high-resolution media option.
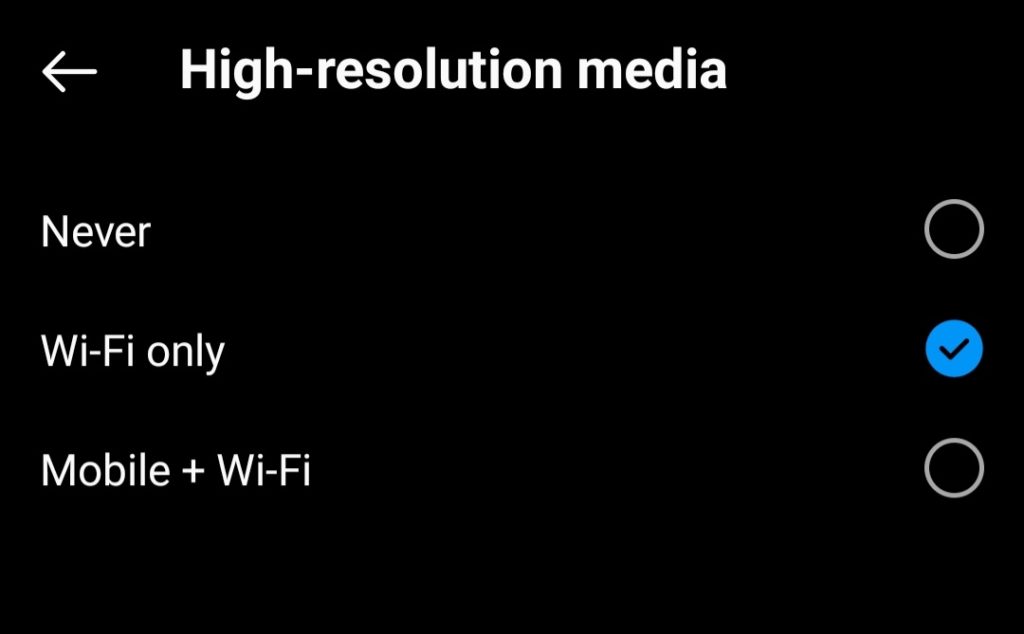
- You will get three options here, to use high resolution never, with Wi-Fi or mobile+ Wi-Fi. You can choose anything from the latter two options.
Once selected, the settings will change to upload high quality reels from now on. Just remember it will consume more data than before; hence ensure to use Wi-Fi.
Using Phone Camera to Create High Quality Reels
While most people record Reels using Instagram, there are cases where you want to transfer a video on your phone into a reel. It might seem simple to record a regular video and then upload it in the reel format, but that can easily hamper the reel’s quality.
Thus, we suggest refraining from using any inbuilt filters on your phone while making the video, or using any other video editing apps.
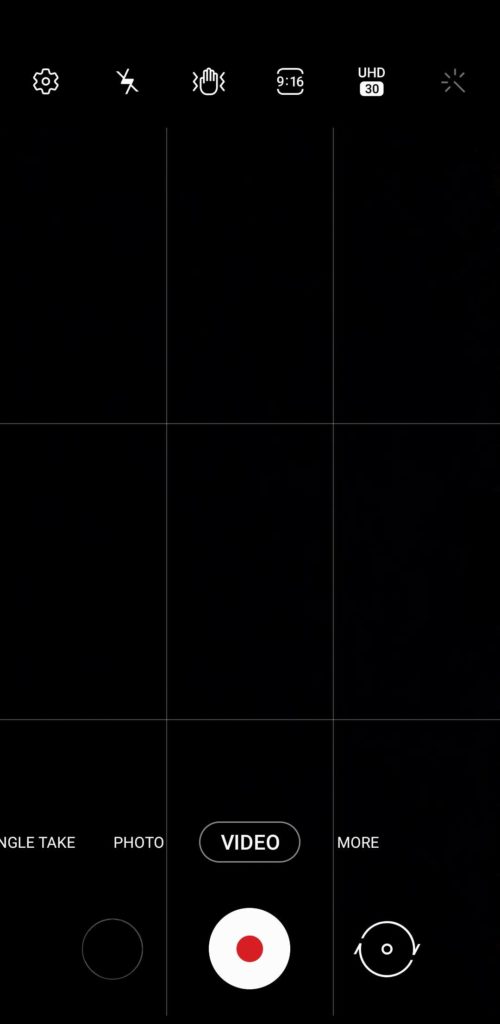
Record the reel from your phone camera in the most stable and high quality setting possible. Also, checking if your lens is clean before shooting never hurts.
Edit the High Quality Reel on Instagram
We understand that having a neatly edited video is a top priority for most content creators. But if you also want to upload high quality reels on Instagram, prevent yourself from using any editing app other than Instagram.
Videos that are edited on third party apps and then uploaded to Instagram are more likely to lose quality than the Reels created and edited on Instagram itself.
Luckily, Instagram has a plethora of editing options in its library. You can add songs, trim the video, and use the trendiest transitional effects in a high quality reel at the exact beat drop.
And contrary to popular belief, most Instagram influencers also create and edit their reels on Instagram.
How to Transfer a High Quality Reel to Another Device
If the video is recorded on your phone, but you want to upload it on a PC or vice versa, the next step is to transfer the video. However, these steps have a few roundabouts that can prevent your video from losing its original quality.
- The first tip is not to send it over WhatsApp. Messaging apps are known to reduce the quality of shared media.
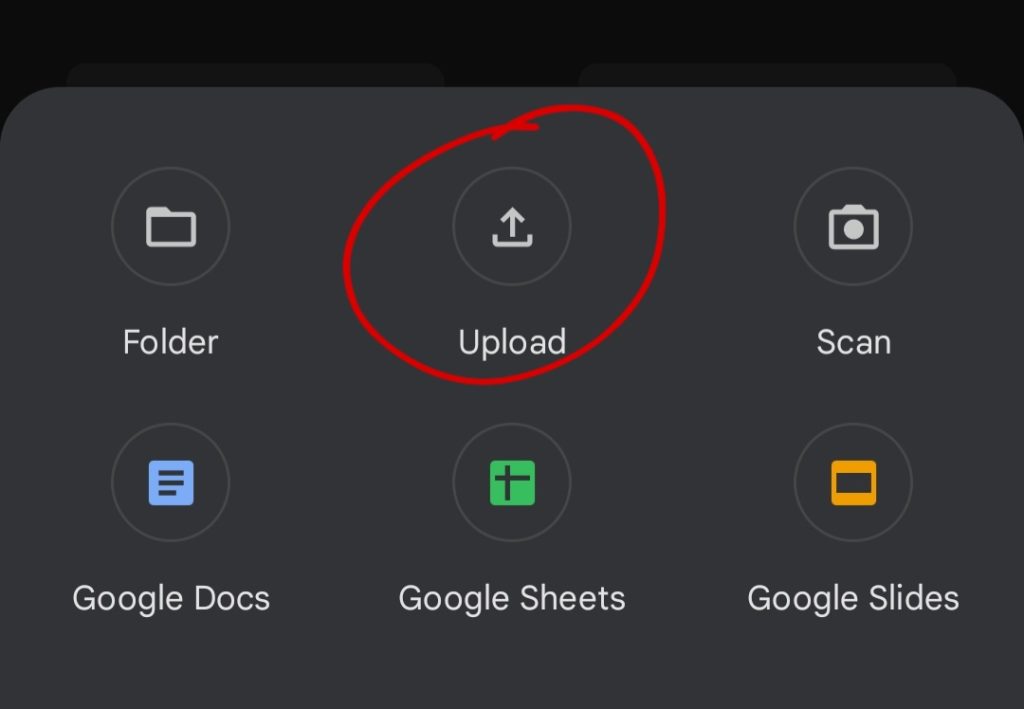
- You can upload the video on Google Drive by signing in and downloading it from the same Google Drive account on another device.
- iPhone or Mac users are recommended to use Airdrop to retain the content quality.
- Samsung users can try quick share.
- And lastly, the simplest method is to email the media to the account on the next device.
Also Read:
- How to Fix Instagram Reel Not Showing
- How to Add Full Reel on Instagram Story
- How to Create A Second Instagram Account
Conclusion
It is needless to argue that high quality reels have a charm of its own. While the leading player is the content and story, a video with clear quality is bound to sit well with the audience than a video with blurry vision.
Therefore, we suggest you try these tricks and methods if you want to upload only high quality reels on your Instagram profile.