Almost everyone today has an addiction to the most incredible video platform YouTube. Whether gamers, social media influencers, or musicians, the website gives tremendous exposure to talented individuals willing to share their skills. Generally, YouTubers upload pre-recorded videos to garner a fan base or subscribers. However, various people use other content techniques, such as a live stream on YouTube.
Live streams are live recorded videos that are uploaded on your YouTube channel. Several YouTubers have gained popularity through the means of streams. They require fewer editing efforts, and their fans often enjoy the authenticity of a live broadcast. But live streaming on YouTube isn’t as straightforward as one would hope.
If you are looking to learn an easy way to begin a live stream on YouTube with no interruptions, here are some effective methods to try.
How to Enable Live Streaming on YouTube
There are several ways to make a live stream on YouTube, but each has a different functionality level. In every new channel, the option to Live stream is set to disable by default. So to continue with any of these methods, the first step will be to enable live streaming on your YouTube channel.
- Verification of the YouTube account: You will have to mention the country here. Choose the verification code to send on your mobile and then enter your phone number. Enter the six-digit verification code when received. Your account will get verified.
- Enable Live Streaming: You will find the option on the channel feature page. Under the features that require a phone number.
- After enabling it, wait 24 hours. The live stream option will activate on your channel.
Unless your account has any live streaming restrictions, you can continue with the process. You are free to live stream on your channel through streaming encoders or web browsers. But if you want to live stream on YouTube using your phone, you must have a minimum of 50 subscribers on your channel.
Using a Phone
Live streaming on YouTube is the easiest when done using a smartphone. It takes less time to set it up and is ideal for spur-of-the-moment audience engagement videos. However, with its many privileges comes to some restrictions. Such as:
- Users must have more than 50 subscribers on the channel.
- There shall be no live streaming restriction implemented on the channel within the last 90 days.
- The user must have Android 5.0 or above software on their device.
Furthermore, YouTube will tamper with your streaming settings for channels having less than 1000 subscribers. For instance, channels with more than 1000 subscribers can change their live stream settings from private to public. But, smaller accounts will have private settings by default.
Hence, to gain proper exposure from live streaming on YouTube, you can wait until you achieve that milestone. After which the process is simple:
- Log in to your account on the YouTube App.
- On the homepage, press the plus button located in the centre at the bottom.
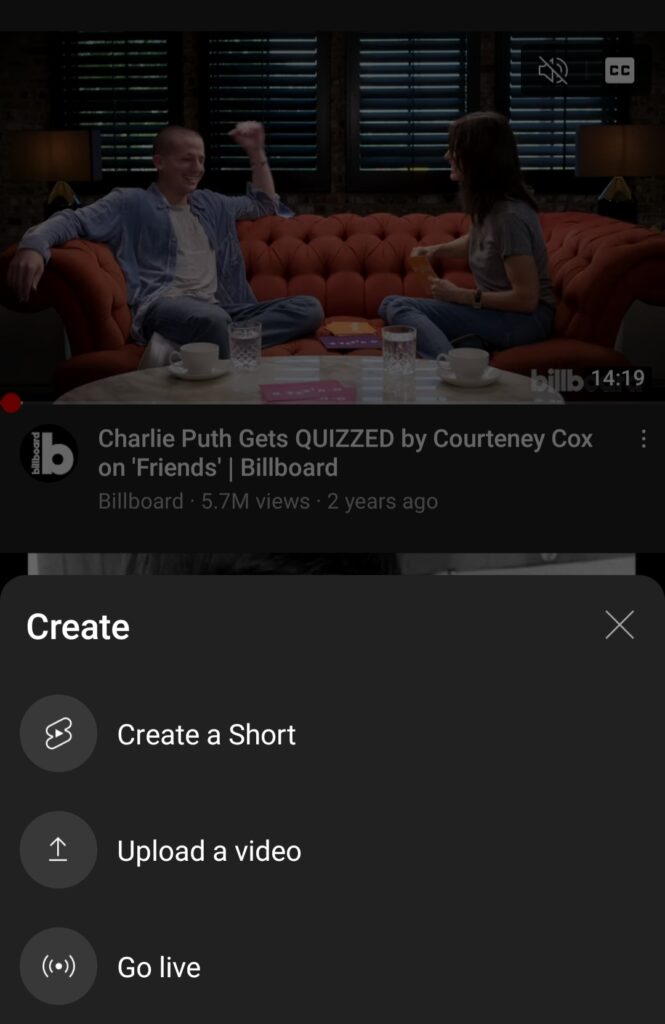
- Select Go Live among the many options available.
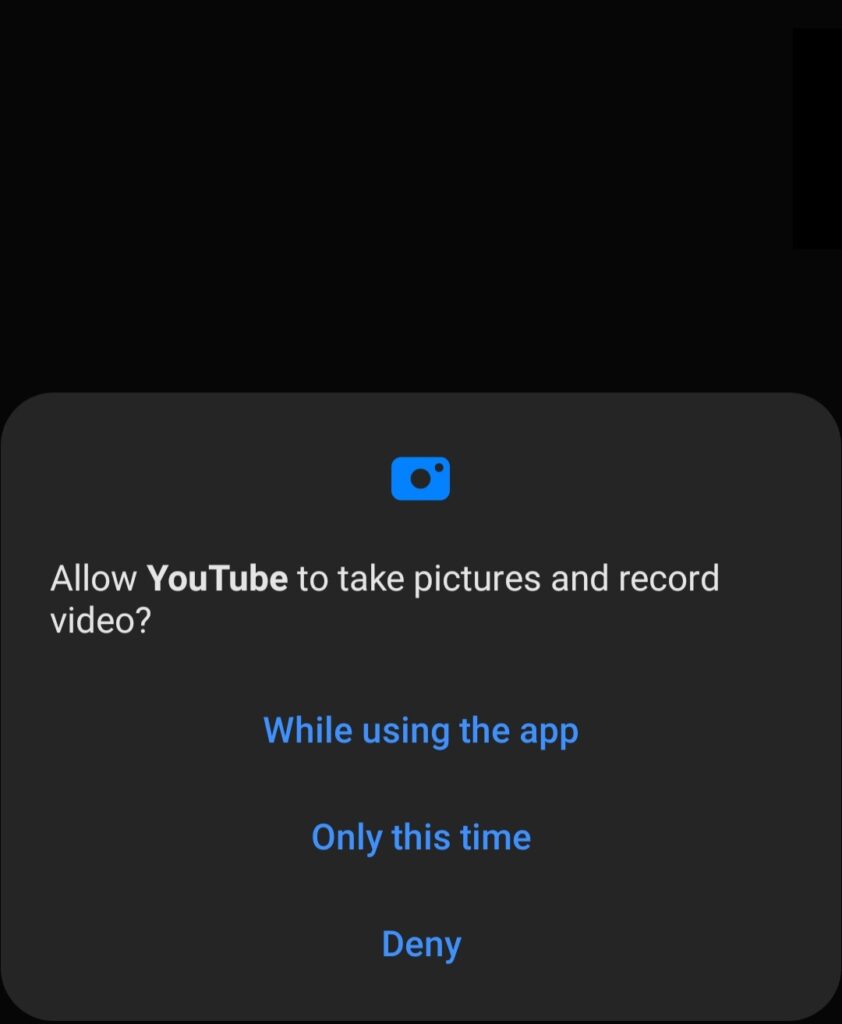
- YouTube will ask permission to access microphones, cameras, photos, and storage. You can grant this, as this is necessary for live streaming.
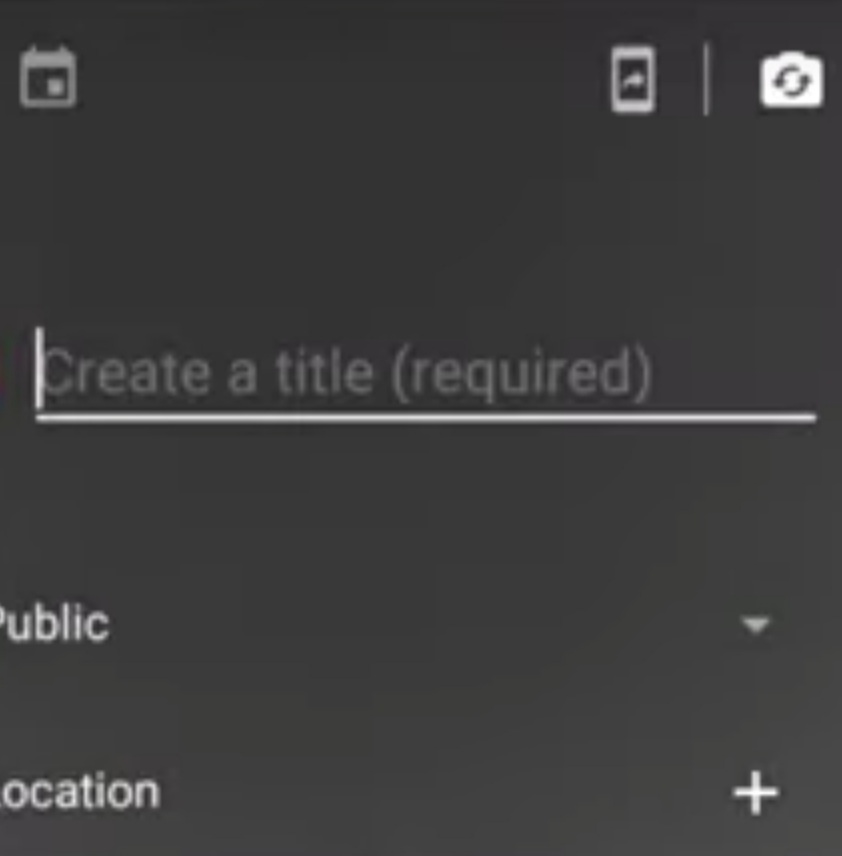
- Set a title for your stream, change privacy settings and audience restrictions if you prefer. Such as for kids or an above 18 audience.
- To flip between the front and back camera, tap on the camera icon on the top right corner of the screen.
- In advance settings, monetize the stream if your account is eligible for it, and change the live chat settings.
- If you wish to start the live stream at some other time, you can set the schedule from the calendar icon located on top of the title section.
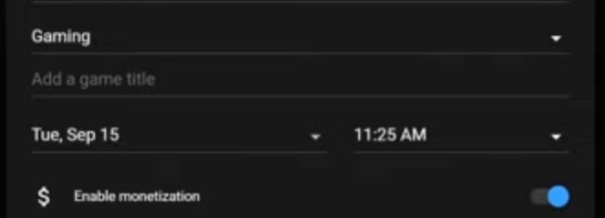
- Press next and upload or click a picture for the thumbnail for the live stream. Then choose if you want to stream in portrait mode or landscape mode.
This is it. You are ready to live stream now. When you are finished live streaming, you can click OK to end the stream. After that, it will automatically upload to your channel like the rest of your videos. You can manage them through the My videos section.
Using a Web Browser
You can easily live stream on YouTube using a webcam. This method is excellent for engaging with your subscribers in real-time while streaming in high quality. You can use a built-in camera or added webcam on your laptop or PC. It is also possible to use high-end cameras like DSLR to shoot a live stream on YouTube using a web browser.
For that, you’ll need a USB capture card to send video signals to your PC. YouTube will recognize the attractive camera just like the USB attached Webcams. This is how you will set the cameras for your stream, and to complete the process, here’s how to do it.
- Log in to the YouTube website.
- Click on the create a post or video option.
- Select Go Live from the menu opened.
- Choose a built-in webcam as the type of stream.
- Again, YouTube will ask for permission for live streaming. Grant access to camera, microphone, storage, and gallery.
- Create the title for your live stream. Select the thumbnail for the video from your gallery. Include a description and a category if you want. Change the settings of the engagement features as per your requirements and choose the visibility option. (Public, Unlisted or Private)
- Then schedule the live stream by clicking on the option present on the above right corner of the screen. Select Next once reviewed all the details of the stream.
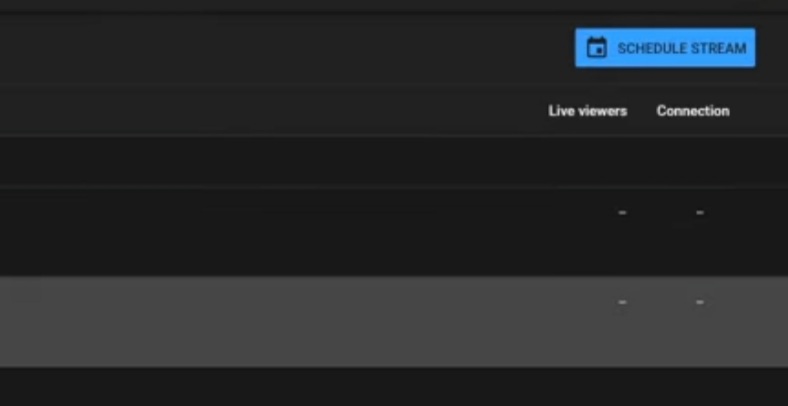
- Select Go Live.
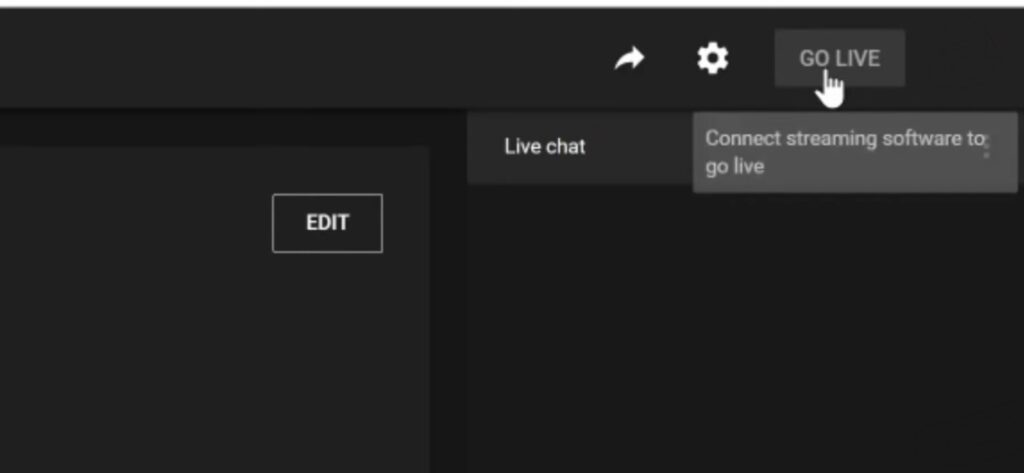
That is it. It is vital to press end stream once you are thorough. While the stream continues, your channel will show it as a “Live video.” Likewise, YouTube will automatically upload it as a regular video that you can access through my video section.
So, those who missed it can view it just like your other pre-recorded uploaded videos. If you want to manage your past streams, you can go to the Live tab under Content in the YouTube Studio.
Using Encoders
Encoders are viral tools that convert your video into a digital format, so you can easily live stream it. They are primarily used to broadcast gaming streams, conferences, concerts, sports, or news events. Further, they allow external video or audio hardware to stream while simultaneously sharing your screen and managing an advanced production of more than one camera and microphone. So, if you plan to do a more advanced live stream on YouTube, encoders will surely help you complete the task.
There are three basic types: Software, hardware, and mobile encoders. Software and mobile encoders are apps on your device, or they are also available in standalone hardware.
However, the exact process is different for them and more complex than basic live streaming. Just make sure YouTube verifies whoever tool you use.
Conclusion
So these were the three ways following which you can live stream on YouTube with no hassle. Now you can finely become a professional YouTube influencer with a massive army of subscribers. Remember that live streaming is extremely fun, but always make sure to end the live stream once done. Hard to believe, but hilarious live streaming incidents happen all the time on the internet.

