Taking screenshots on an Android device is a simple yet powerful feature that allows you to capture anything that appears on your screen, be it a message, a map, or an image. Whether you want to save a recipe, a booking confirmation or a chat conversation, a screenshot can help you do that easily and quickly. In this guide, we will walk you through the different ways to take a screenshot on Android device, from the basic method to some lesser-known tricks.
Whether you have a new or an older device, we’ll show you how to take a screenshot on Android with ease, and how to access and share your screenshots afterward. With this guide, you’ll be able to take screenshots on your Android device in no time.
Use Power Button Method to Take Screenshot On Android Phones
One of the easiest and most widely supported methods for taking a screenshot on an Android device is by using the physical buttons on your device. This method is known as the Android Screenshot Shortcut and it involves holding down the power button and the volume down button at the same time for a couple of seconds.
To use this method, follow these simple steps:
- Go to the screen or app that you want to take a screenshot of.
- Press and hold the power button and the volume down button at the same time.
- You will see a quick animation on the screen and hear a camera shutter sound, indicating that the screenshot has been taken.
- You can find your screenshot in the Gallery app or in the Screenshots folder in the Photos app.
Take Screenshots Using Gestures
Another way to take a screenshot on an Android device is by using gesture controls. This method is not as widely supported as the physical button method, but it can come in handy if your device’s power button is not working or you prefer not to use it. Gesture controls allow you to take a screenshot by swiping your hand across the screen, making it a convenient option for those who want to avoid using physical buttons.
To use gesture controls to take a screenshot, follow these steps:
- Go to your device’s settings and look for the “Gesture controls” or “Motions and gestures” option.
- Enable the screenshot gesture by turning on the toggle switch or checking the box next to the option.
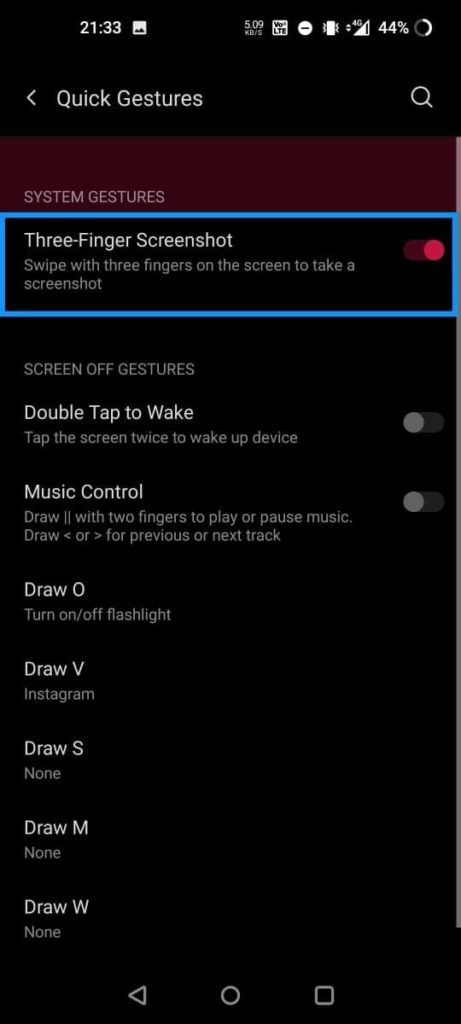
- Once the gesture is enabled, you can take a screenshot by swiping your hand from one side of the screen to the other, or by making a specific hand gesture, depending on the device.
- You will see a quick animation on the screen and hear a camera shutter sound, indicating that the screenshot has been taken.
- You can find your screenshot in the Gallery app or in the Screenshots folder in the Photos app.
Do remember that not all devices have this feature, and the gesture to take a screenshot may vary from device to device. Some devices require you to swipe your hand from the top of the screen to the bottom. On the other hand some require you to swipe your hand across the screen diagonally. You can easily find the gesture for your device in your phone’s settings.
How to Take a Screenshot on Android Using Google Assistant
Taking a screenshot using the Google Assistant is a convenient option for those who prefer to use voice commands. This feature allows you to take a screenshot by simply asking the Google Assistant to do it for you. Here are the steps to take a screenshot using the Google Assistant:
- Wake up the Google Assistant by saying “Ok Google” or by holding down the home button.
- Say “take a screenshot” or “capture screen” and the Google Assistant will take a screenshot for you.
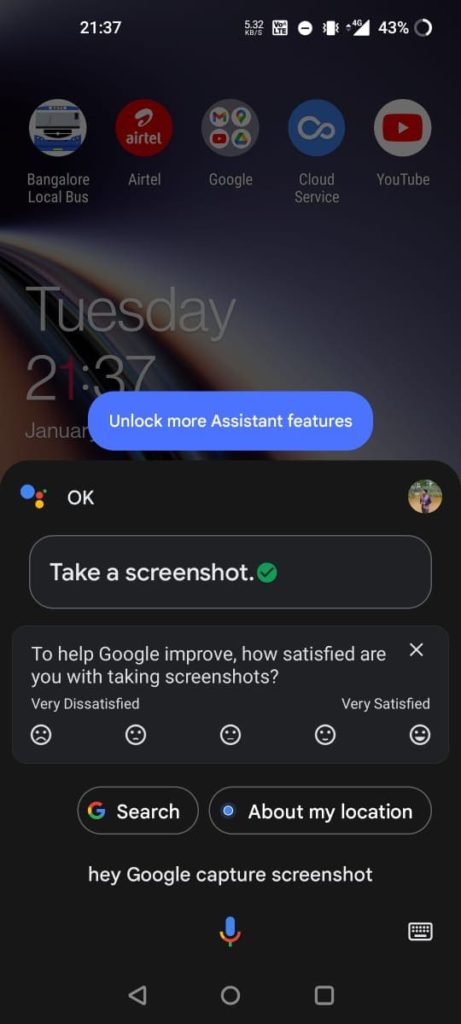
- The screenshot will be saved in the Gallery app or in the Screenshots folder in the Photos app.
This method is easy to use and it works on most Android devices that have the Google Assistant enabled. You can also use this method if you have a device with a broken power button or if you don’t wish to use the power button.
Take Screenshots Using Third-Party Apps
In addition to the built-in methods for taking screenshots on an Android device, there are also various third-party apps. These apps allow you to take screenshots on android easily and also edit them. Using these apps could be a wise choice since they offer several additional features. Here’s how to use third-party apps to take screenshots on an Android phone:
Screenshot Easy is a popular third-party app that allows you to take screenshot on Android. Here’s how to use this app to take screenshots on your Android phone:
- Go to the Google Play Store and search for “Screenshot Easy” or visit this link.
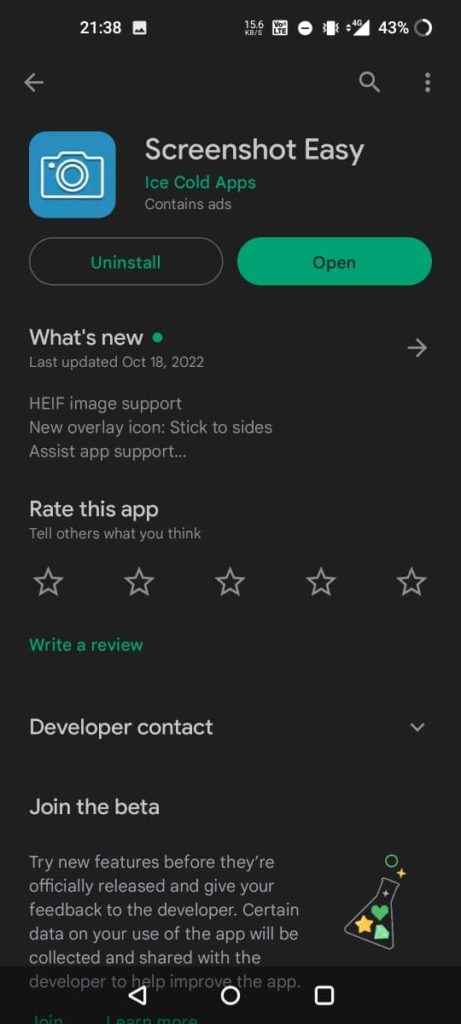
- Install the app on your device.
- Once installed, open it and grant any necessary permissions.
- You will see a notification that appears on the status bar indicating that Screenshot Easy is running.
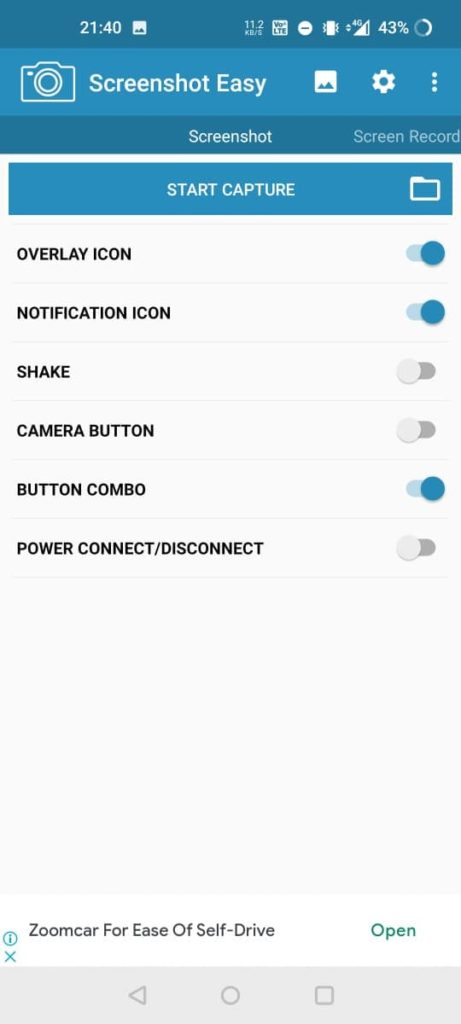
- To take a screenshot, you can use the notification icon, the overlay icon, the shake gesture, or the widget button. You can also set the specific button combination that you prefer to use.
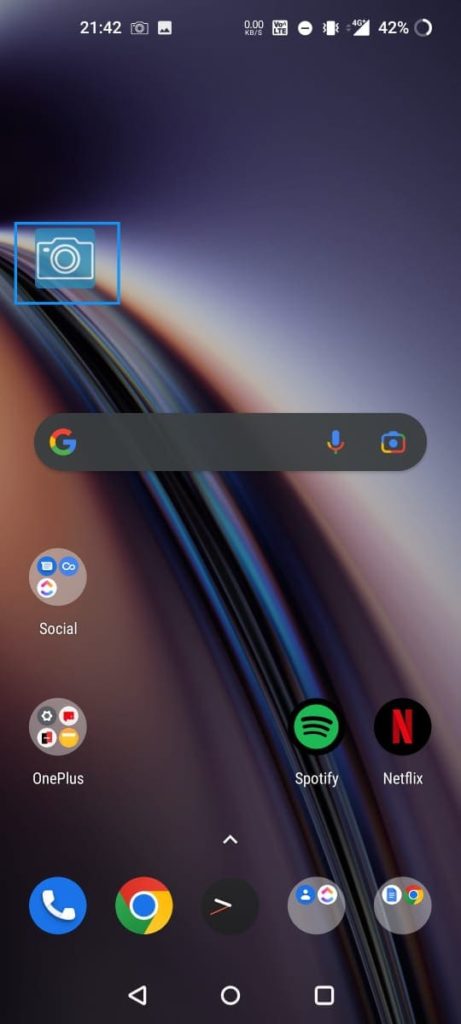
- Once the screenshot is taken, the app will provide you with options to edit, share, or save the screenshot. You can also set the app to automatically save the screenshots to the Gallery or to a specific folder.
Also Check:
- How to Take Screenshot From YouTube Video
- How to Screenshot On Mac (Take a Screenshot On Mac)
- How to Take a Screenshot of Windows Login Screen
- 7 Best Ways to Take Screenshot in Windows 10 (Free)
Conclusion
Taking screenshots on an Android device is a quick and easy way to capture important information. We have seen numerous ways to take screenshot on android. Each method has its own advantages and disadvantages and it’s important to choose the one that best suits your needs. The physical button method and the Google Assistant are the most widely supported methods. On the other hand third party apps offer several additional features.

