
It is quite a simple task to grab screenshots of our screens while working on a Windows laptop or desktop. But, sometimes we tend to forget that the conventional methods to take a screenshot might not work in case we want to capture a screenshot of the Windows login screen.
Since the login screen involves entering a password or pin, it is not that simple to take a screenshot of that screen owing to security issues.
However, that doesn’t mean it is not possible.
Through this article, we shall discuss the steps required to take a screenshot of the Windows login screen.
Using a timer on the Snip & Sketch Application to Take a Screenshot of Windows Login Screen
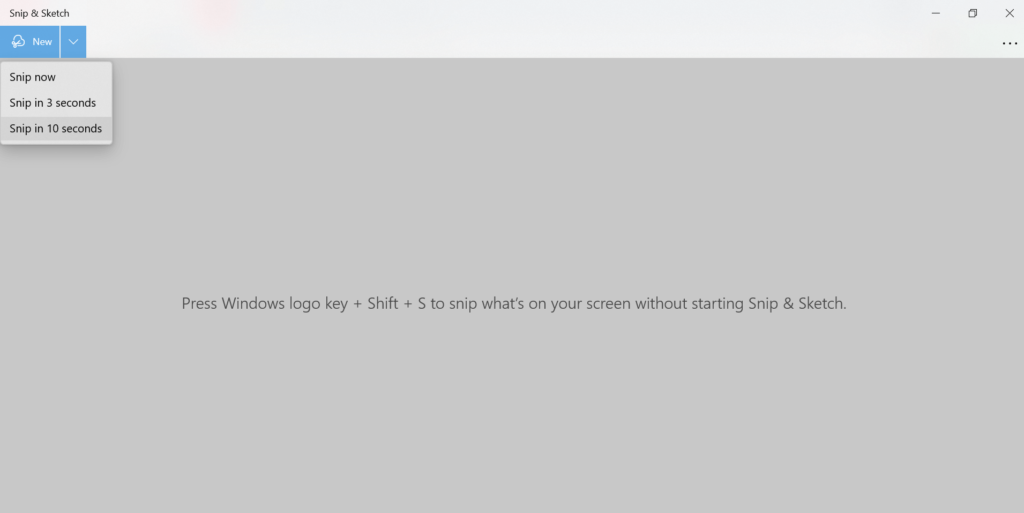
- Open the Snip & Sketch application on your Windows desktop/laptop.
- Tap on the arrow next to the New button.
- Click on “Snip in 10 seconds”.
- Immediately use the Windows + L shortcut to lock your laptop/desktop.
- Wait for the set 10 seconds for the snipping tool to appear over the login screen.
- Take a screenshot by capturing the area of the login screen as required.
- Log in to your system.
- Save the screenshot of the login screen that was just taken.

Using a remote desktop connection to Take a Screenshot of Windows Login Screen
- Open the Remote Desktop Connection application on your Windows desktop/laptop (host device).
- On the remote desktop/laptop, allow remote desktop connection from the Start menu.
- In the Remote Desktop Connection application of your host device, enter the name of the remote computer by filling in the “Computer” and “User name” fields. You can look for these details under “System Information” (System name and User name) on your laptop/desktop.
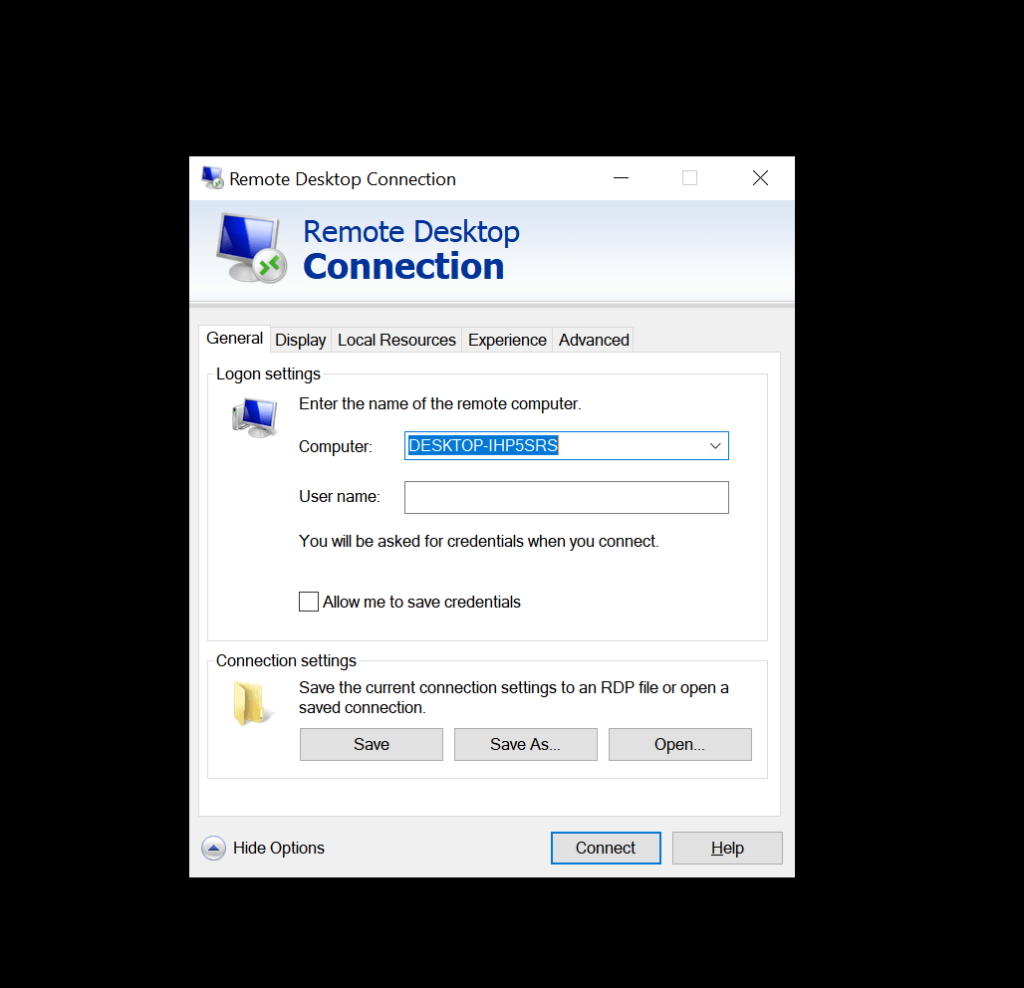
- Save the credentials and click on Connect.

- After the connection is successful, go to the login screen of the remote desktop/laptop.
- Use Ctrl + Alt + PrtScr shortcut key on the host device to take a screenshot of the login screen of the remote desktop/laptop.
Want to know how to access Mac files remotely from your Android, iOS, and Windows device remotely? Here is how you can do it.
Using Microsoft Remote Desktop application to Take a Screenshot of Windows Login Screen
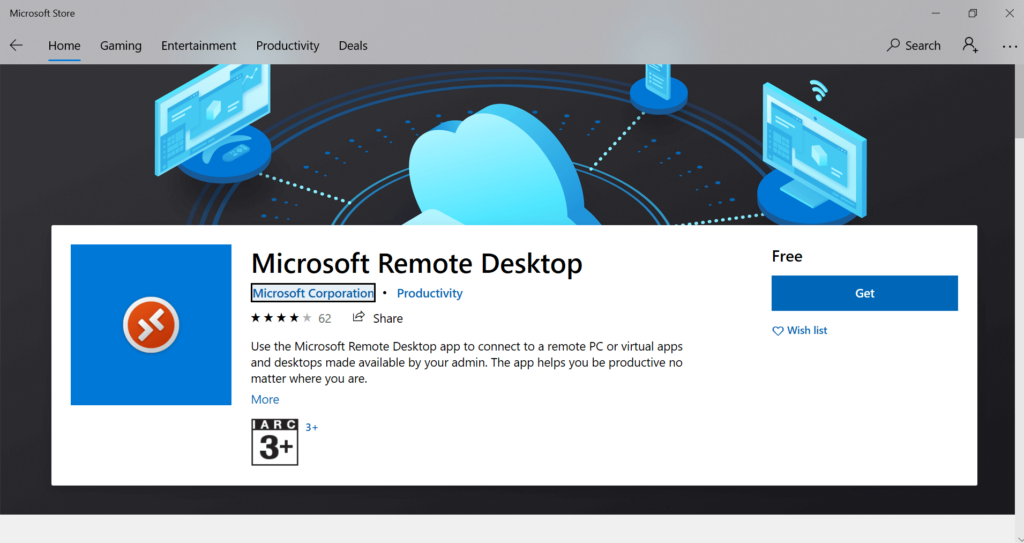
- Go to Microsoft Store and install the Microsoft Remote Desktop application on your host Windows 10 device.
- On the remote desktop/laptop, allow remote desktop connection from the Start menu.
- In the Microsoft Remote Desktop application, click on the Add button at the top right.
- Select PC under the Add button.
- Enter the information in the various fields as prompted. You can look for these details under “System Information” (System name and User name) on your laptop/desktop.

- Click on Save.
- Turn the slider on for “Connect to admin session” and set the remote session resolution according to your choice.
- Click on the user to connect to the remote desktop/application.
- Click on the preview of the remote desktop/laptop to which you have connected.
- After the connection is successful, go to the login screen of the remote desktop/laptop.
- Use Ctrl + Alt + prt sc shortcut key on the host device to take a screenshot of the login screen of the remote desktop/laptop.
You can also use other remote desktop software like TeamViewer to create a remote desktop connection and proceed with grabbing a screenshot of the Windows login screen.
NOTE: You might have also come across a method that involves adding a registry key called “utilman.exe” in HKEY_LOCAL_MACHINE and mapping the key to the Snipping Tool on your laptop/desktop. We would advise you to refrain from this method of taking a screenshot of the Windows login screen as it is both ineffective and risky.
Using this method, the snipping tool only comes up for a split second over the login screen and does not really permit taking a screenshot. Also, in case you make a mistake while adding a registry key, there is a high chance that your system might crash.
Conclusion
These methods shall definitely come in handy the next time you need to take a screenshot of your Windows login screen. No need to toy around with any registry keys or .exe files.
Through a few quick and easy steps, you can successfully take a screenshot of the login screen. Do you have any other methods in mind? Do let us know in the comments.