
Want to create your own eCommerce site? Not able to find good developers? Well, then this article will surely help you to create your very own eCommerce website using WixStores by just following some simple steps.
WixStores is a place where you will get everything, which you require to build great looking and well-functioning eCommerce sites.
If you are willing to get started your own Online Store & you are serious about it, I recommend you to choose premium services.
Because WixStores gives you a highly customized online store to start and adding products to it.
Getting Started with WixStores
The first thing you want is to create an account on WixStores or you can use your Facebook or Google plus account to log in.
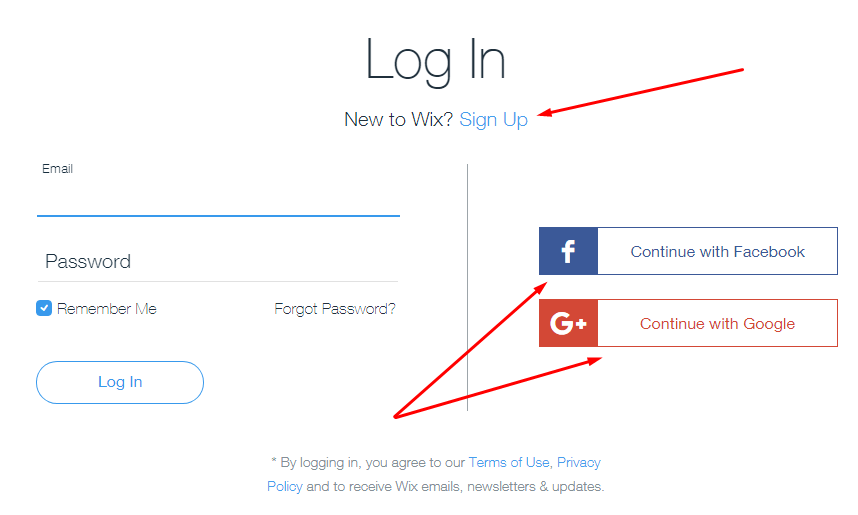
Once you have successfully logged in the very next step is to set up your site.
There are tons of free templates available through which you can select anyone you want according to your requirement.
Create Site
Just click on the “Start Creating Now” or “Create a new site” button to start the process.
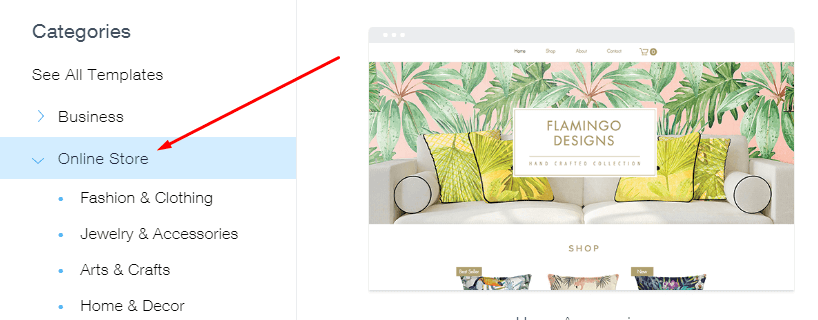
The next screen will display a list of templates according to the category.
You can select the appropriate category and choose the template which you want.
Here I have selected the “Online Store” category and selected the template which I liked the most.
Templates
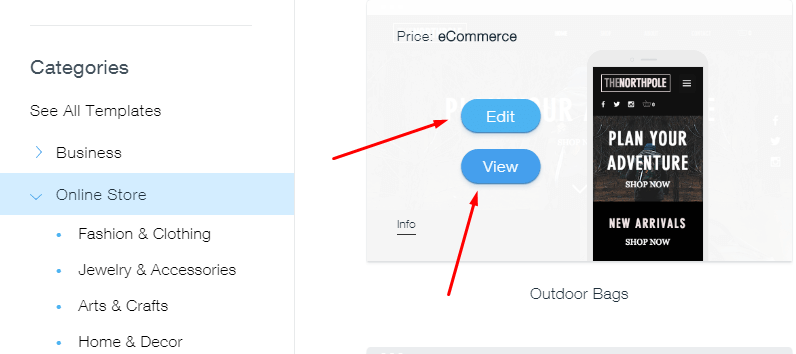
Once you are ready with your template just view it before using it, how it looks and etc.
The next step is to edit that template according to your needs.
See the below image in which I have selected the provided template.
Sample Template
Once you click on Edit this site button, the editor window will open and you can edit that template according to your needs and wants.
Remember that a mobile-optimized version of your site will be automatically generated.
Any changes made in the desktop version will apply to the mobile version as well.
On the left-hand side, you can see there are multiple options available.
Using the “Pages” option you can edit each and every page available in that template.
The “Design” option provides you the options of how you can design that particular page by changing its color or background or else some other options.
You can change the hierarchy of page structure and change the setting of each page.
Setting includes name, SEO, Privacy, Layout and etc.
In the Design option, you can change the background images or color of that particular page.
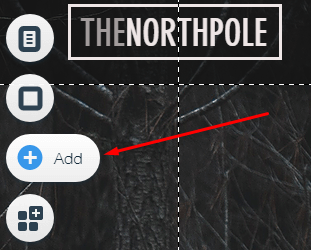
If you want to add some more elements to your site, which are already not present then you can add such elements by clicking the “+” sign provided in the menu.
This will provide the different elements which you can add to your site.
You can even customize single items such as the menu and all by simply clicking on it and change it according to your needs.
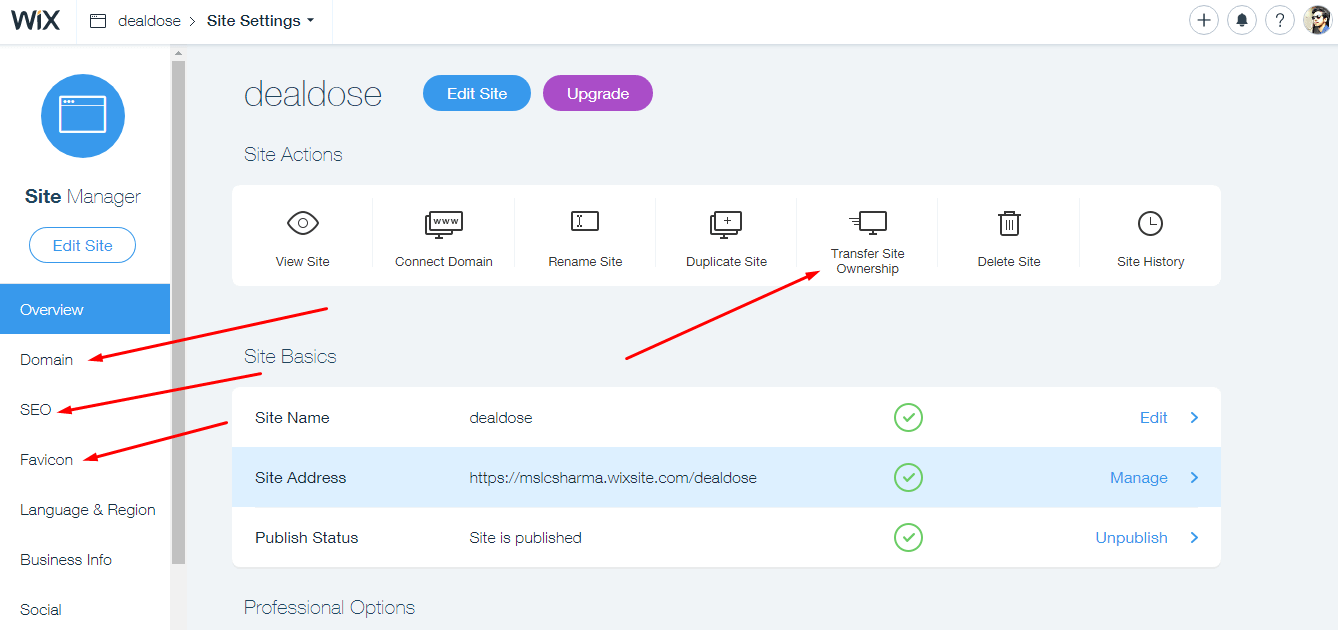
To change the settings of the entire site you can select the setting options provided in the menu.
This includes Site address, SEO, Social Settings, Statistics, Favicon and etc. which are the essential part of your site.
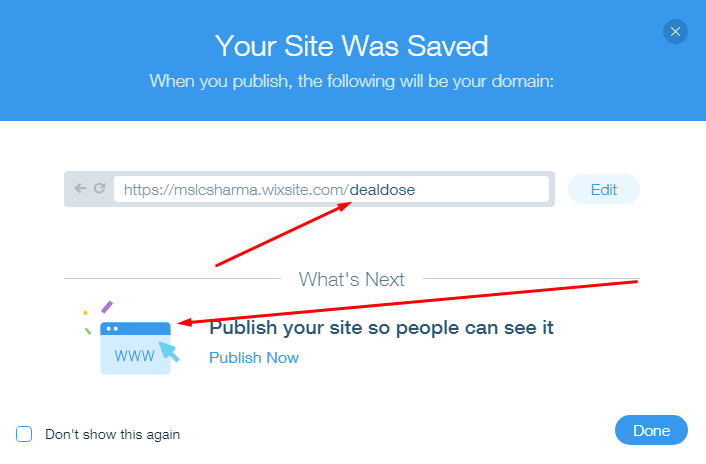
Once you are done with the editing you can save it, preview it and once you are satisfied then you can even publish it and make your site live.
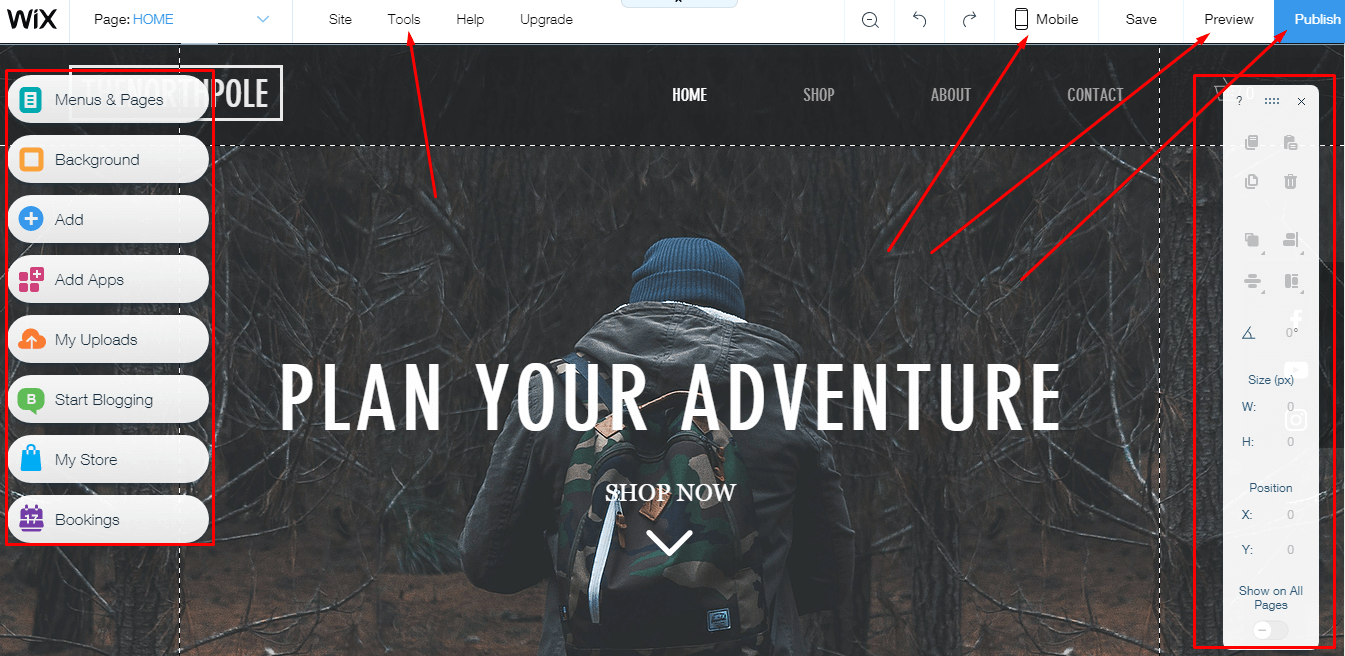
To edit the mobile version just click on the mobile icon on the top left of the site and the mobile editor will open.
The options are the same as the desktop site for mobile. You can drag elements to change their position and display settings.
How to Make Online Store:
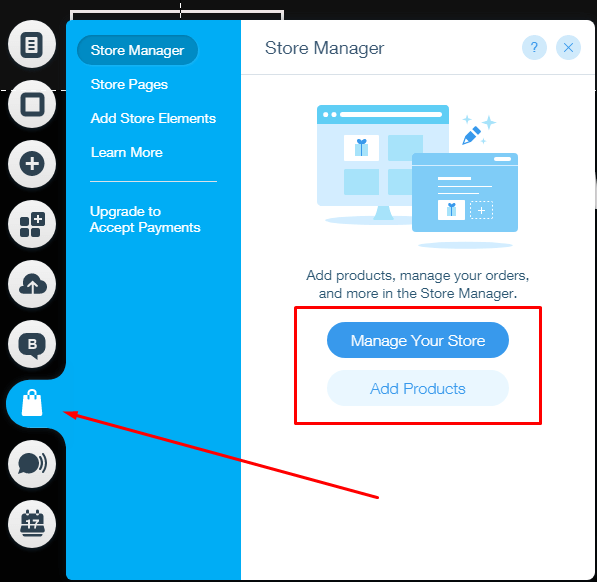
First, click on the “Start creating site” button and then click on the “WixStores” icon.
It is the last icon in the HTML 5 Drag and drops editor.
Now click on “manage store”, which is the first button. Now you will be able to see the following screen:
Add Product: Click on the “Products” tab to see all of your products. Now from here, you can add another product to your site.
Click on the “+ Add Product” button at the top right corner.
On the page, you have to enter the details of your product like Name, Price, Images and etc.
Payment Option: In the payment tab, you can select the mode of payment. There are three options to choose from.
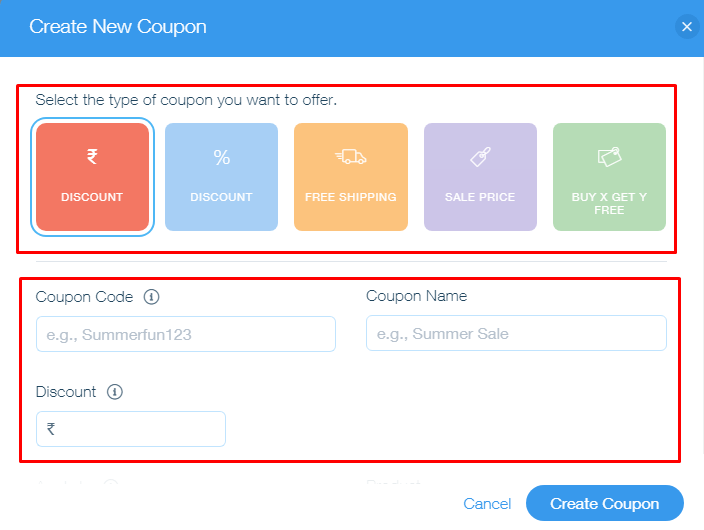
Add Coupons: You can add coupons also to your site.
Just click on the coupon tab and then enter the details related to your coupon.
The coupons fall into three types: US dollars discount, a percentage discount, or free shipping.
Go in and add details like Title, Code, Discount type, from and To date and etc.
Once you have added the coupon you can make it live on your site.
Shipping: Next feature is for shipping.
The first question the WixStores manager will ask you is, “where do you want to sell?”
You’ll then need to decide if you want to sell to all countries, or only to specific regions.
Once that has been determined, you can include the handling fees, and other fees.
There is an option to calculate shipping fees either through weight or through price. You can add your own rules for the shipment.
Recommended: What Song is This? Identify Songs Online
Highlighting Features:
- 100s of stunning HTML5 templates to choose from.
- Simple drag & drop option to create and build a website.
- Secure and reliable free hosting.
- Wix App Market provides you with apps and add-on for your website.
- Create an online store and start selling your stuff.
- Mobile optimized store & website.
- Better search results in Google.
- 24/7 customer support for any queries.
Do let me know your opinion on WixStores – whether you liked it or not?