Amazon Prime is one of the most popular streaming services in the world. With over 150 million subscribers in their bag, Prime offers its users several benefits. However, if the app has lost its charm for you, it may be time to delete your account on Amazon Prime.
Before one decides to delete their Amazon Prime account, there are a few steps to complete, such as cancelling your Membership. Additionally, if you have a lot of time left on your subscription, you may even be eligible for a refund. Below we have discussed the proper steps following which you can delete your account on Amazon Prime.
How to Cancel Your Amazon Prime Subscription on the Website
Amazon Prime offers a plethora of services, such as free delivery on Amazon, Amazon Music, and limitless access to movies and TV shows (both licensed and original). Therefore, it is essential to remember that when you delete the account on Amazon Prime, you will lose access to all these benefits of the app. However, cancelling your Prime subscription may be the correct choice if you rarely use it.
- Sign in to your Amazon account.
- Next, click the Account from the drop-down menu and select Prime Membership from here.
- Then, head to the Membership section and hit the update, cancel and more button.
- Lastly, choose to end Membership.
- An alternative method is to go to the support page and select end Membership, and you’ll be led to the same page. There you will have to cancel the Membership three times.
Amazon will offer to opt for other options such as:
- A monthly subscription instead of a yearly one.
- Get an alert notification a few days before your subscription will auto-renew so you can unsubscribe.
- Pause auto-renewal.
- Cancel your Membership automatically on the renewal date.
- To cancel your Membership immediately, scroll past these options and get to the button to delete it to that day.
Amazon will ask you multiple times if you want to cancel your Amazon Prime subscription.
How to Cancel Your Amazon Prime Subscription on the App
Users can also use the Amazon app on their phones to cancel subscriptions to Amazon Prime. Here is how:
- Open the Amazon app and tap on the hamburger icon at the bottom of the screen.
- Next, select the Prime option on top and then select Prime again in front of the drop-down list.
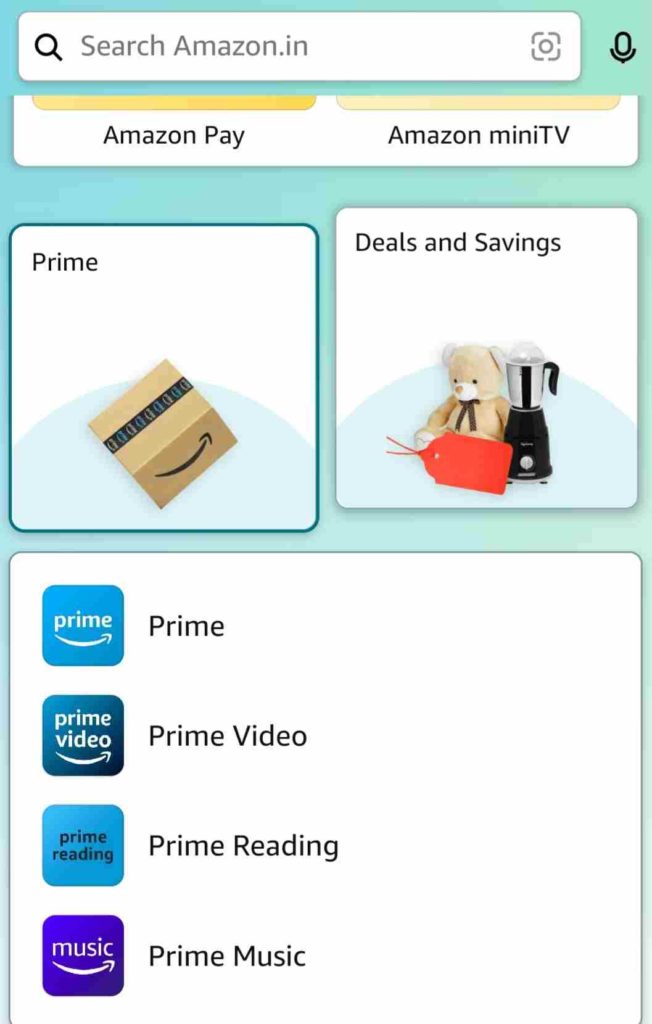
- Here, you will get an option to Manage Prime Membership on top; tap on that.
- On the next page, select Manage Membership. You will be taken to another page, where you can end your Prime Membership.
- If your app is not updated, you can head to the accounts> accounts settings> Manage Prime Membership > Manage Membership.
In this process as well you will get an email confirmation.
Eligibility for Refund When Deleting Account on Amazon Prime
According to the terms and conditions of Amazon Prime, users who decide to end their Membership within three business days of signing up without using any Prime benefits are eligible to earn their full refund. However, the company can give you a partial refund depending on the value of the Prime benefits you used in those three business days.
After that time period, one can only attain their refund if they have yet to use any Prime membership benefits or make any eligible purchases through the app.
Although, if you have used Amazon services but the subscription still has some time left, you may get a partial refund for the remaining time. This trick is sometimes hit or miss, and you can only find this out by contacting Amazon customer support services.
Users who will delete an account on Amazon Prime after unsubscribing should call customer services because once the account is deleted, you can’t recover subscription information.
How to Delete Your Account on Amazon Prime
Once you’re finished cancelling the subscription, move ahead to learn how to delete your account on Amazon Prime forever. Some people may consider this step unnecessary since unsubscribing should be plenty. However, there are other reasons to want to delete an account on Amazon Prime.
Amazon is particularly pointed for data mining and how the company treats its workers; thus, if you’re inflicted with such claims, deleting your account can be a prudent choice. However, to delete your account on Amazon Prime, you’ll have to delete the Amazon account entirely.
- Go to Amazon.com and sign in to your account.
- Then tap on the Accounts and List button in the top right corner.
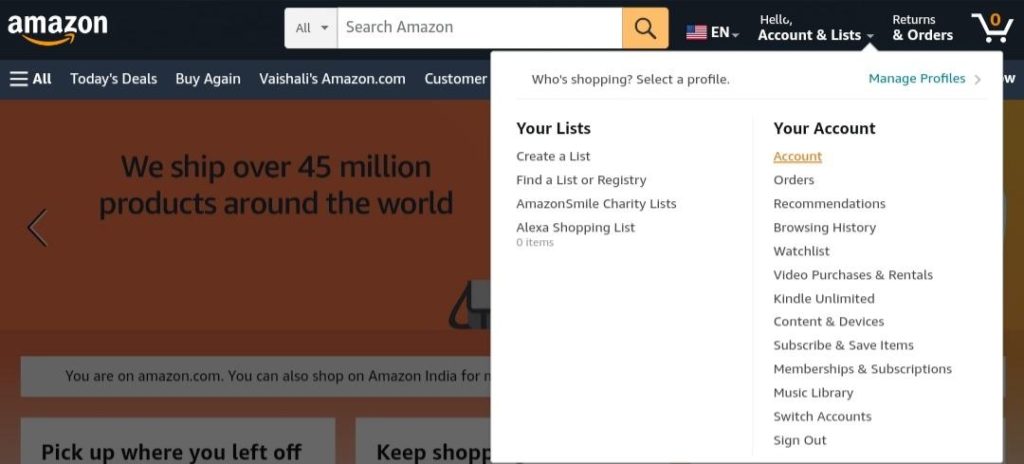
- Select the account from the drop-down list.
- On the next page, scroll down to the data and privacy section and select close my account.
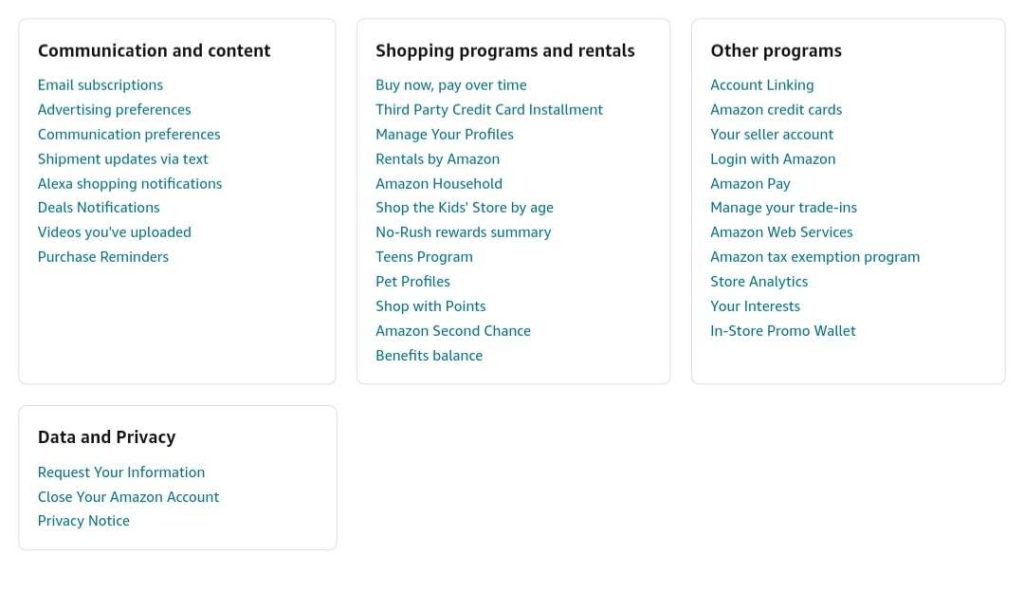
- Alternatively, you can click on https://www.amazon.com/privacy/data-deletion.
- Scroll down on the page and select your reason. Then tick on “yes, I want to permanently close my Amazon Account and delete my data”.
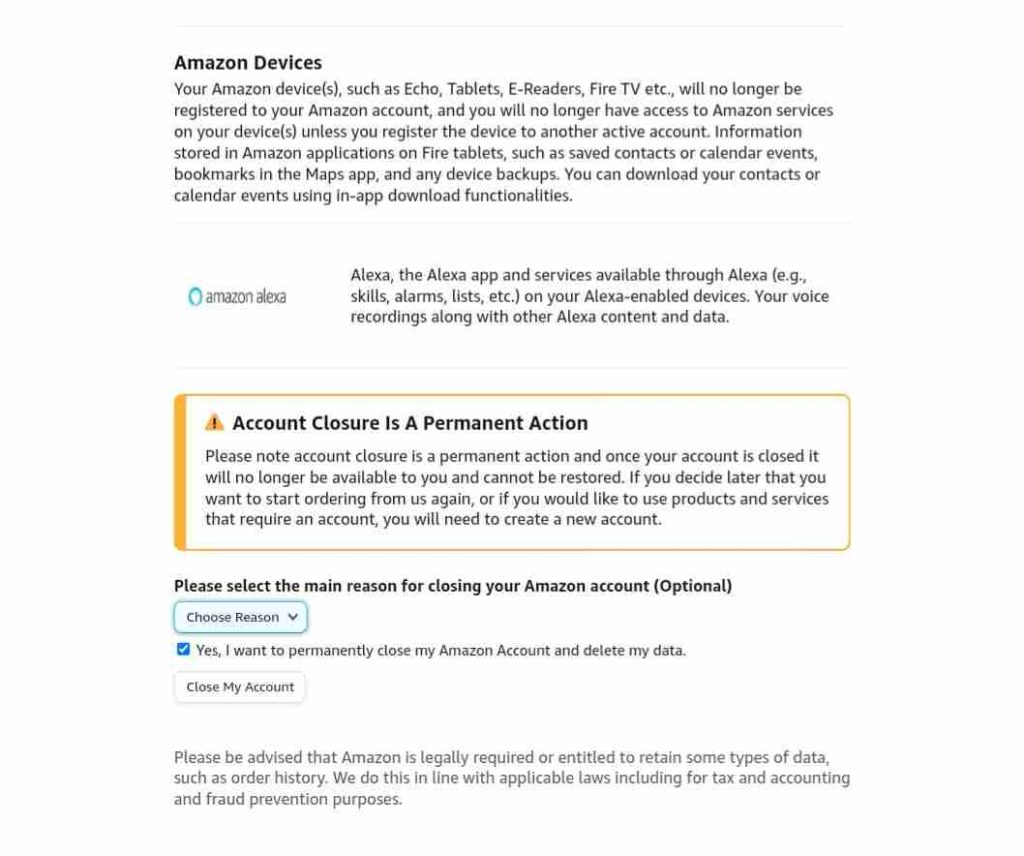
- Lastly, click on Close My Account.
- You will get a text message or email with the notification from Amazon, in which they will send you the confirmed account closure link. This step is to ensure your identity on their part. You need to click on that link from any device and Enter your password.
Your Amazon account will be deleted permanently. During the procedure, you’ll be presented with a list of linked accounts on your Amazon (like Whole Foods and Goodreads). Thus, as you delete your Amazon account, all of these accounts will also get deleted.
- Best Price Tracker Extensions for Chrome
- How to Delete Google Pay Account Permanently
- How to Delete a YouTube Channel Account
Conclusion
As we move in time, the grasp of digital space fades in our minds. So many of us have many inactive and unnecessary accounts online, and forgetting about them is a security risk. Therefore, deleting them is an excellent idea if you never plan to use them again. As you delete your account on Amazon Prime, bear in mind that it is a permanent process, you will lose all your data, including the wish list and receipts of all the products you purchased from the app. So learn all the details before heading on with the task.