Disable Image Preview Thumbnails: Image previews are definitely one of the most underappreciated yet useful features in Windows.
They allow us to identify the image without even opening it or reading its name.
However, did you know that rendering image preview thumbnails in Windows takes up a lot of system resources? This also makes the system slower and naturally, it takes more time to have access to files and folders.
Therefore, if we are not interested in using the feature, Windows 10 provides the option to disable image preview thumbnails and replace them with the image icon. The article sheds light on some of the methods required to do so.
Using File Explorer to Disable Image Preview Thumbnails in Windows
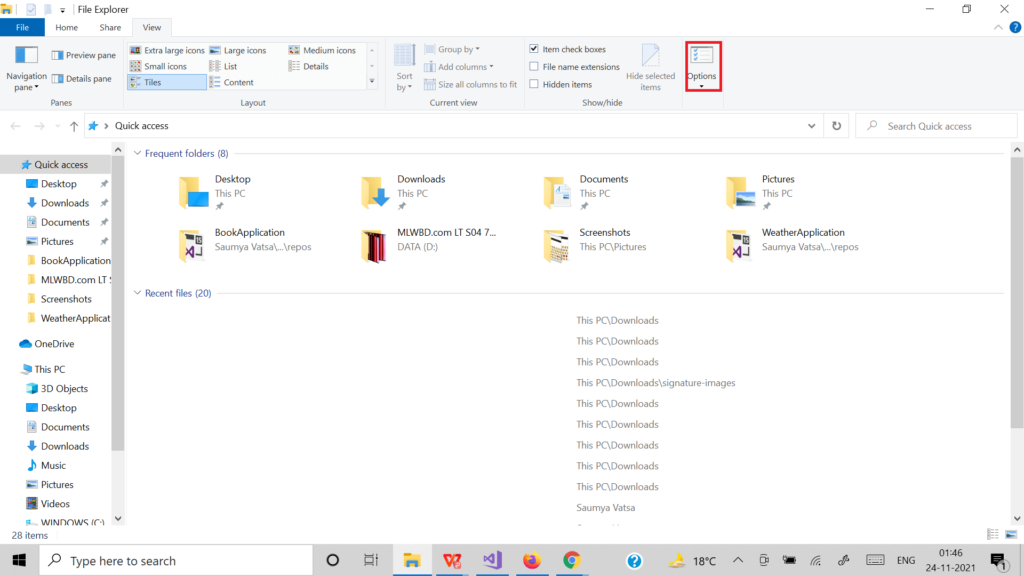
- Open File Explorer on your laptop/desktop. Either search for File Explorer or use the Windows + E shortcut key.
- From the top left of File Explorer, navigate to the View tab.
- Click on Options under View.
- Switch to the View tab in the box that pops up.
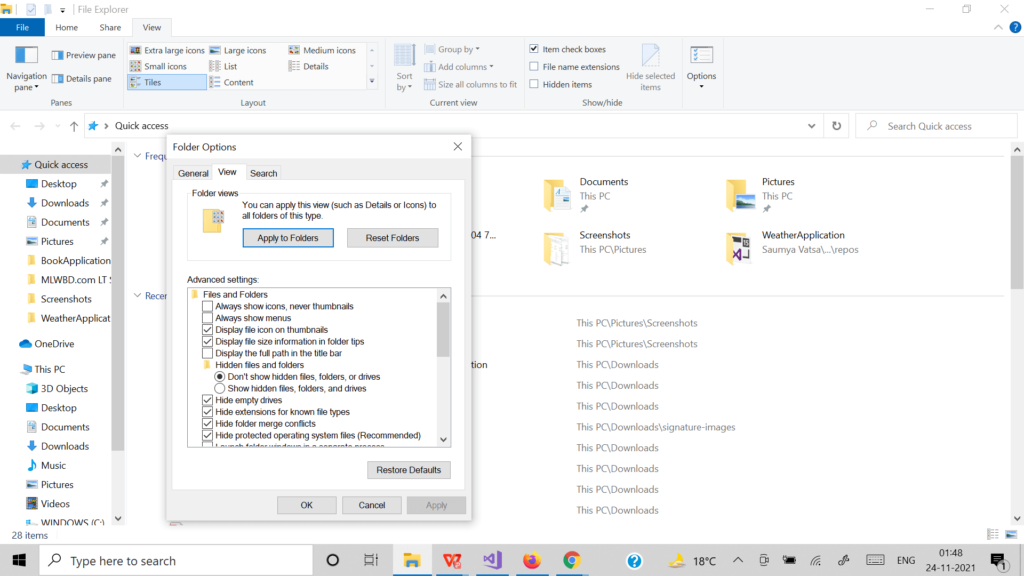
- Under the “Advanced Settings” section, checkmark the “Always show icons, never thumbnails” option.
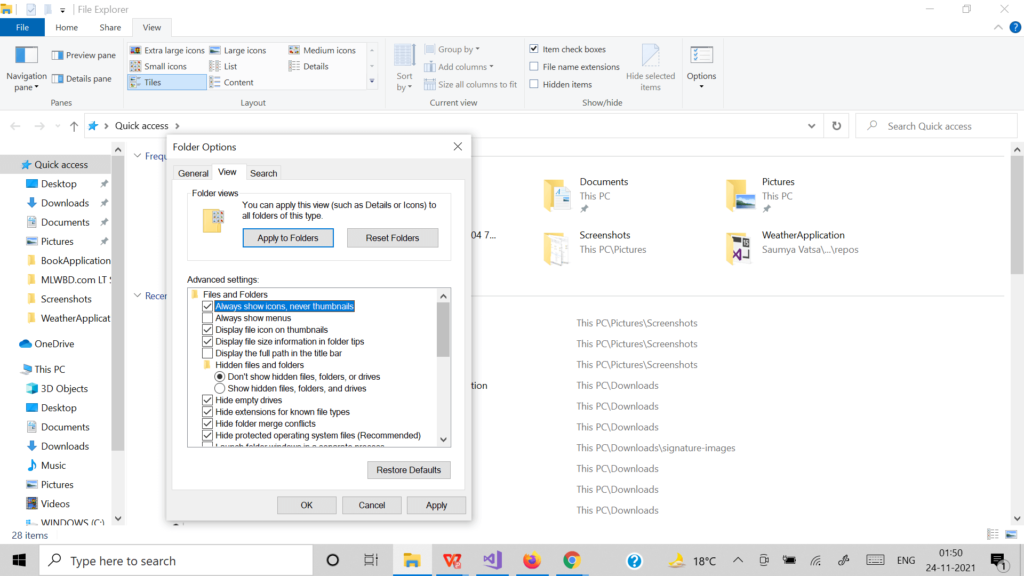
- Click on the Apply button.
- Finally, click on OK.
Using the Group Policy Editor to Disable Image Preview Thumbnails in Windows
- Go to Start and search for gpedit.msc.
- Click on OK to go to the local group policy editor.
- From the left side, browse to the following path: User Configuration / Administrative Templates / Windows Components / File Explorer
- Under Settings on the right side of the window, find the option “Turn off the display of thumbnails and only display icons”.
- Double click on the above-mentioned option.
- Select the Enabled option in the window that pops up.
- Click on the Apply button and OK.
NOTE: In some Windows systems, you might not find the group policy editor. In such a case, you can either download it from a trusted source or resort to one of the other methods mentioned in this article to disable image preview thumbnails.
Using the Visual Effects Settings
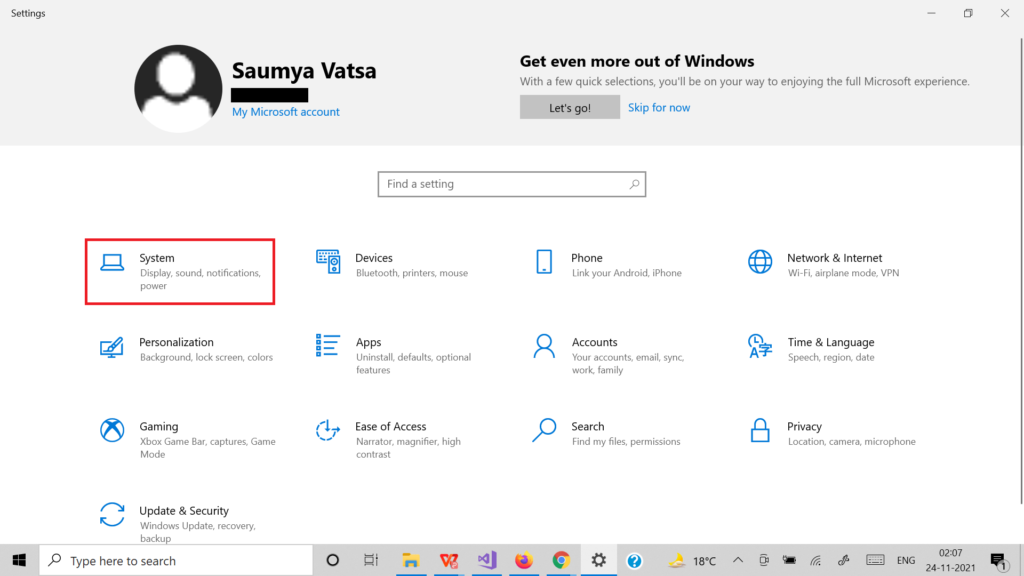
- Go to Settings from Start on your laptop/desktop.
- Click on System.
- On the left side, find the option “About” and open it.
- Under “Related Settings” on the right side of the window, go to “Advanced system settings”.
- Under the “Performance” section, click on Settings.
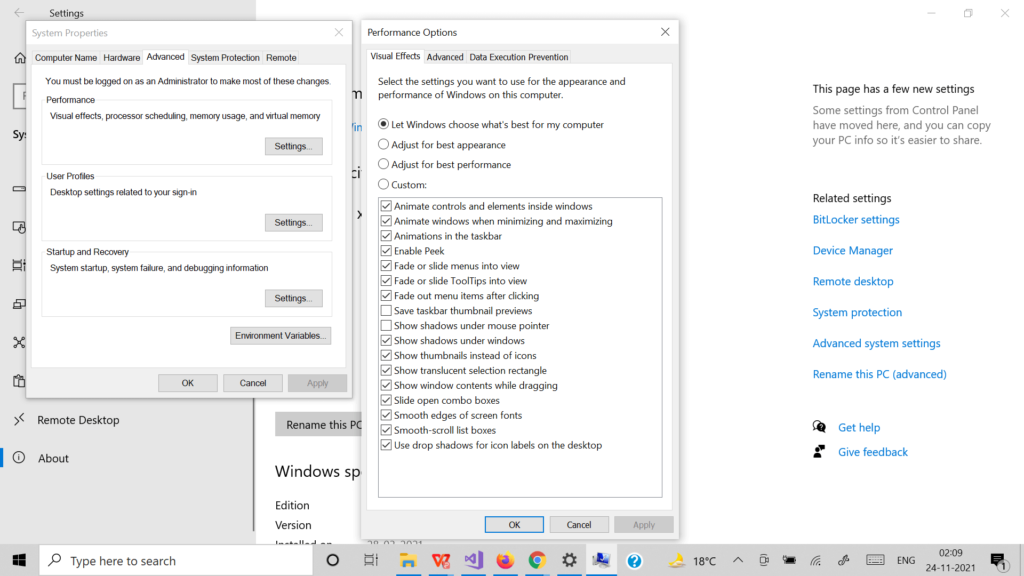
- In the “Performance Options” box, go to the “Visual Effects” tab.
- From the list present, find the option “Show thumbnails instead of icons”.
- Check the box next to the above-mentioned option.
- Click on the Apply button.
- Click on OK.
The safety of your Windows PC should be of utmost priority if you want an optimal-performing PC at your service.
Here are a few tips and tricks that might help you keep your Windows PC safe.
Using the Registry Editor to Disable Image Preview Thumbnails in Windows
- Go to Start and search for Registry Editor. You may also open Run (Windows + R and then search for regedit.
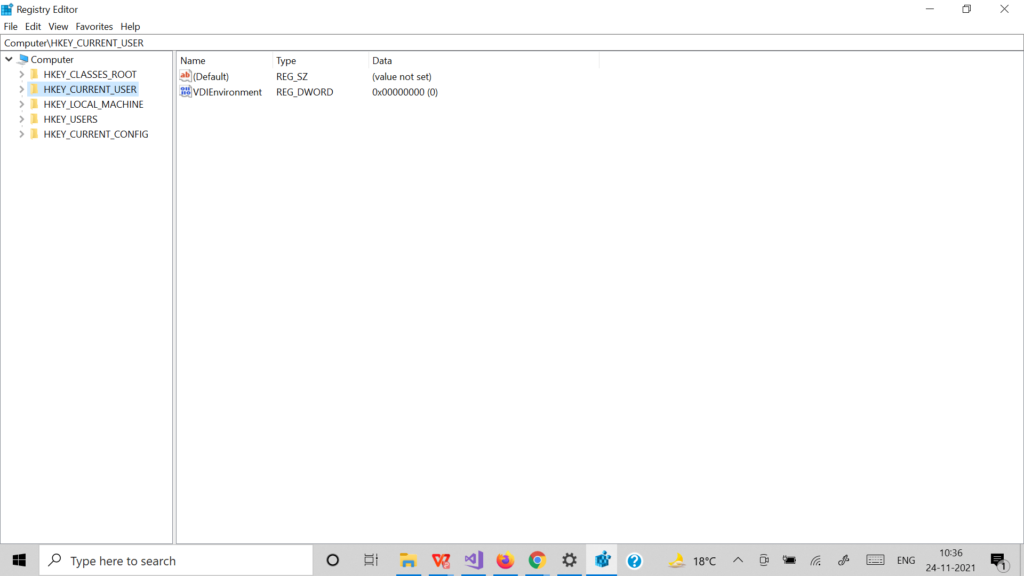
- Open the Registry Editor.
- On the left pane, click on HKEY_CURRENT_USER.
- Under HKEY_CURRENT_USER, go to Software.
- Click on Microsoft.
- Go to Windows under Microsoft.
- Navigate to the Current Version folder under Windows.
- Go to Explorer next.
- Finally, click on the Advanced folder.
- On the right pane, find the option “IconsOnly” and open it.
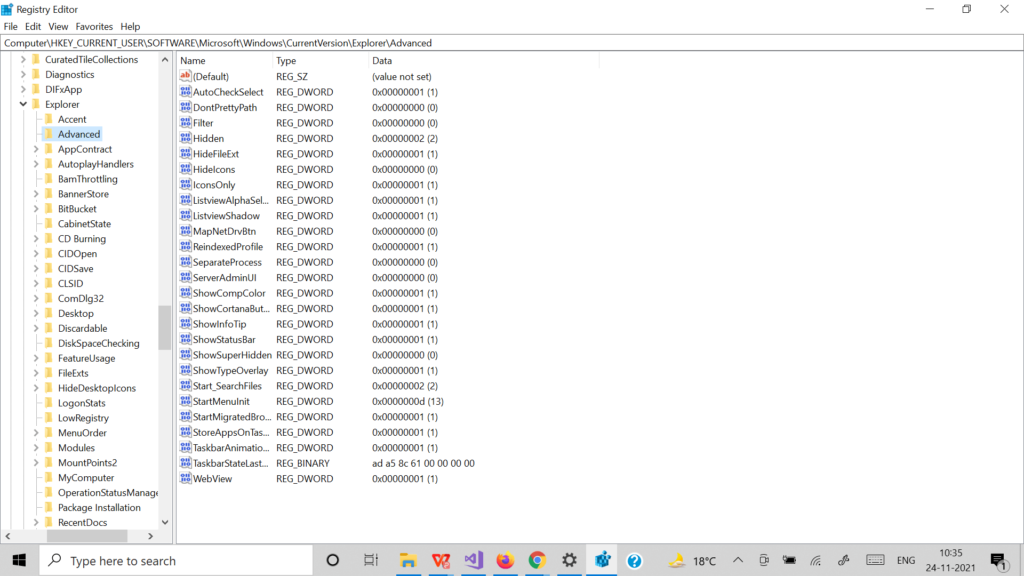
- Enter “1” in the place of “0” in the Value data field.
- Click on OK to confirm disabling image preview thumbnails.
NOTE:
1. Before making any changes through the registry editor, do not forget to back up your registry. Failing to do so might lead to the loss of data.
2. Any changes made through the above method are effective only to the user level, i.e., other users might not be affected by those changes.
- How to Temporarily Disable WiFi in Windows 10
- How to Format a Drive in FAT32 in Windows 10
- 7 Best Ways to Take Screenshot in Windows 10 (Free)
Conclusion
Using any of these methods will disable image preview thumbnails the next time you open File Explorer on your Windows device. If the change is not effective, restart your laptop/desktop and check again.
We hope you find these methods useful for disabling image preview thumbnails on your system. Do you know any other methods for the same? Let us know in the comments.