The feature to schedule email messages in Gmail was first released in 2019, after which it garnered massive attraction for Gmail because of its high functionality in day to day work life of their users. This feature to schedule emails is perfect for those who regularly send a range of work and personal messages over email and prefer to keep a head start on their work.
Maybe you are afraid to forget to send an important email before the deadline, you are communicating from a different timezone, or you want to remind your future self of an important task. Scheduling the email messages helps keep you ahead of time in all these tasks and makes you more organized. Here is how you can schedule email messages in Gmail.
How to Schedule Email Messages in Gmail Using a Browser
- First, open Gmail on your web browser.
- Log in with your email and password.
- Then click on the “Compose an Email” button and write the message you want to schedule.
- Add the recipient’s email.
- Next, press the drop-down arrow carefully on the highlighted blue send button.
- Select “schedule send” from the options. This will allow you to select a time and date to send the email.
- A new window will appear with several options to schedule email messages in Gmail. Set the appropriate time and date according to your time zone by manually using a calendar.
- Once it has been set to the desired time, select the schedule send button and confirm.
This way you can easily schedule email messages in Gmail in a few clicks. If you make a mistake in the date and time or want to cancel the scheduled message, you can do that by the following method.
How to Schedule Email Messages in Gmail Using the App?
Since many users prefer to send emails on their phones, knowing how to schedule email messages in Gmail apps is equally important. Here is how to do it:
- Open your Gmail account on the mobile app.
- Then click the Compose button at the bottom right corner of the screen.
- Type the recipient’s email address, subject and your message.
- Next, click on the three-dot icon located in the top right corner.
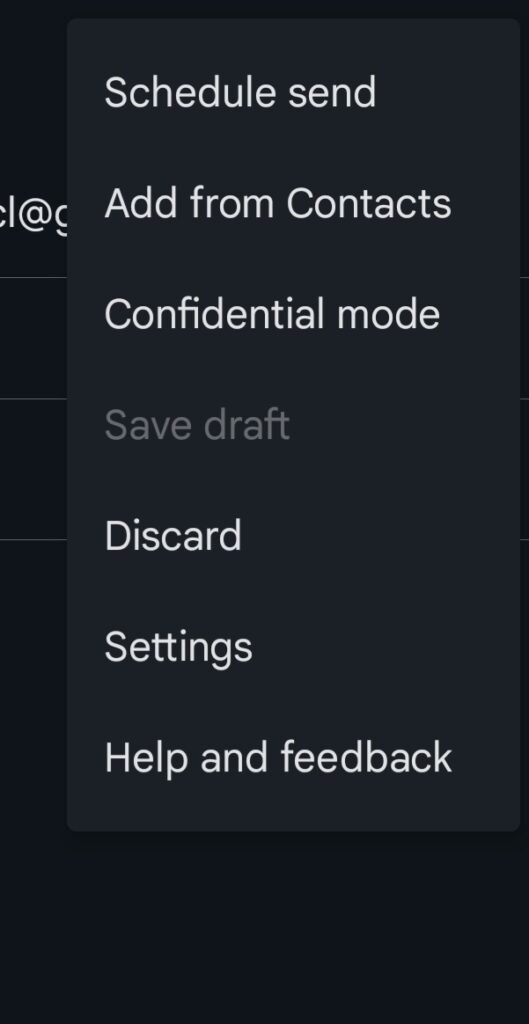
- Select to schedule send from the options.
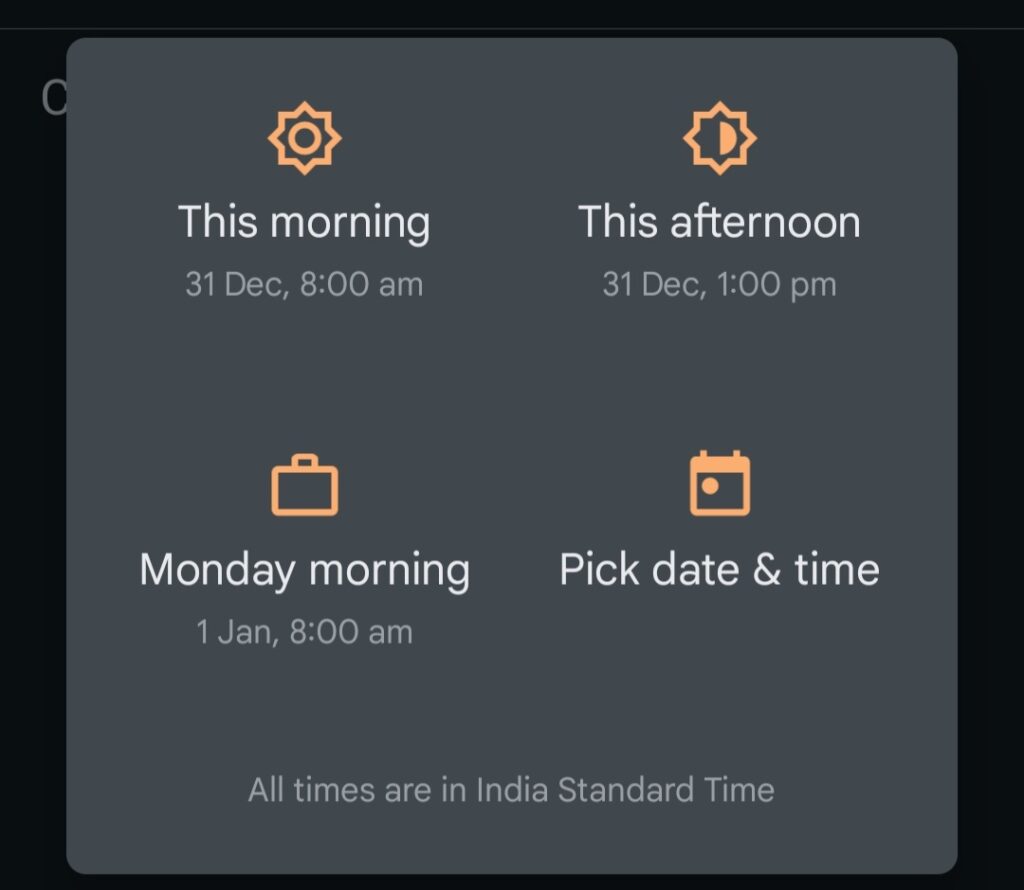
- Choose the preferred day and time from the given options, or manually set a new date and time if needed.
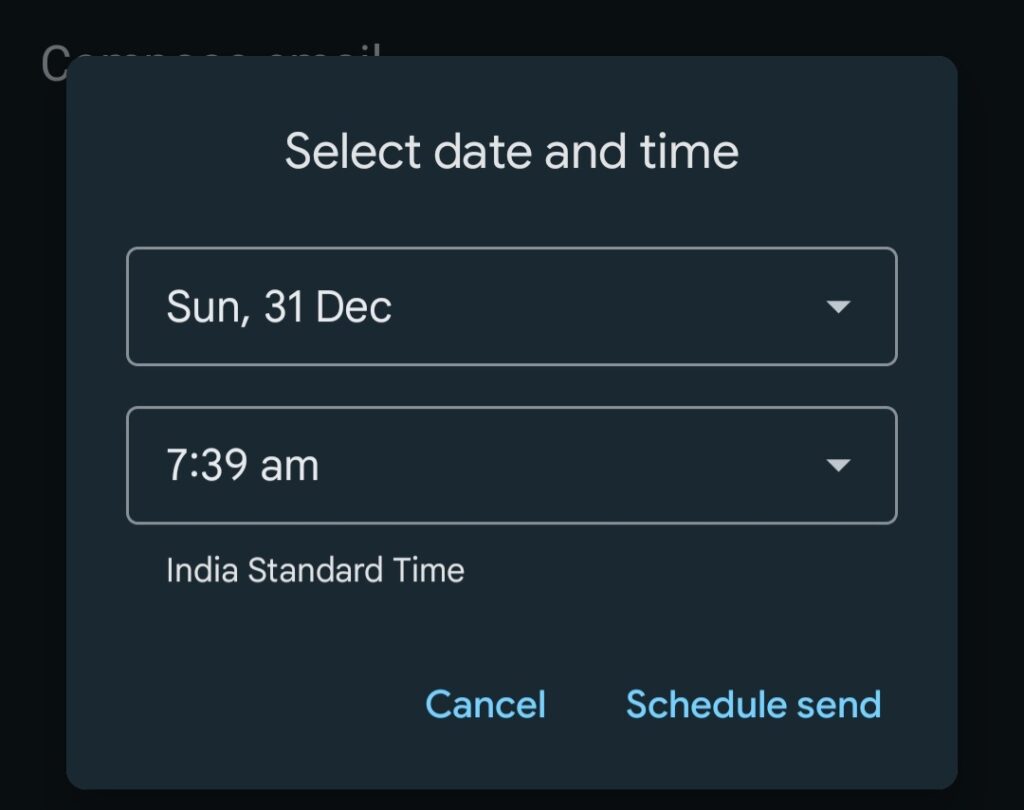
- Once done, select schedule send again to confirm.
That’s it, now your email message is scheduled accordingly.
How to Edit Schedule Email Messages in Gmail
Here’s a list of steps you can follow to edit or change your scheduled emails:
- Go to the scheduled tab in your Gmail account.
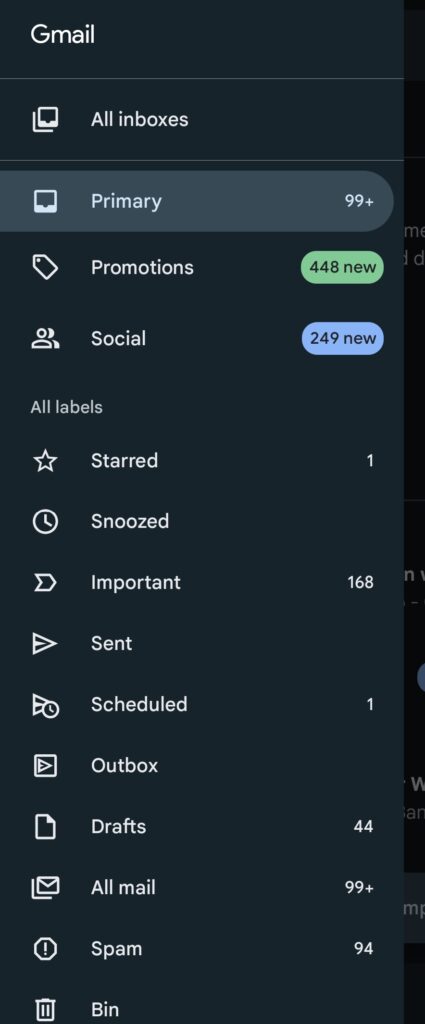
- Then, find the email message from the list of scheduled emails you want to review.
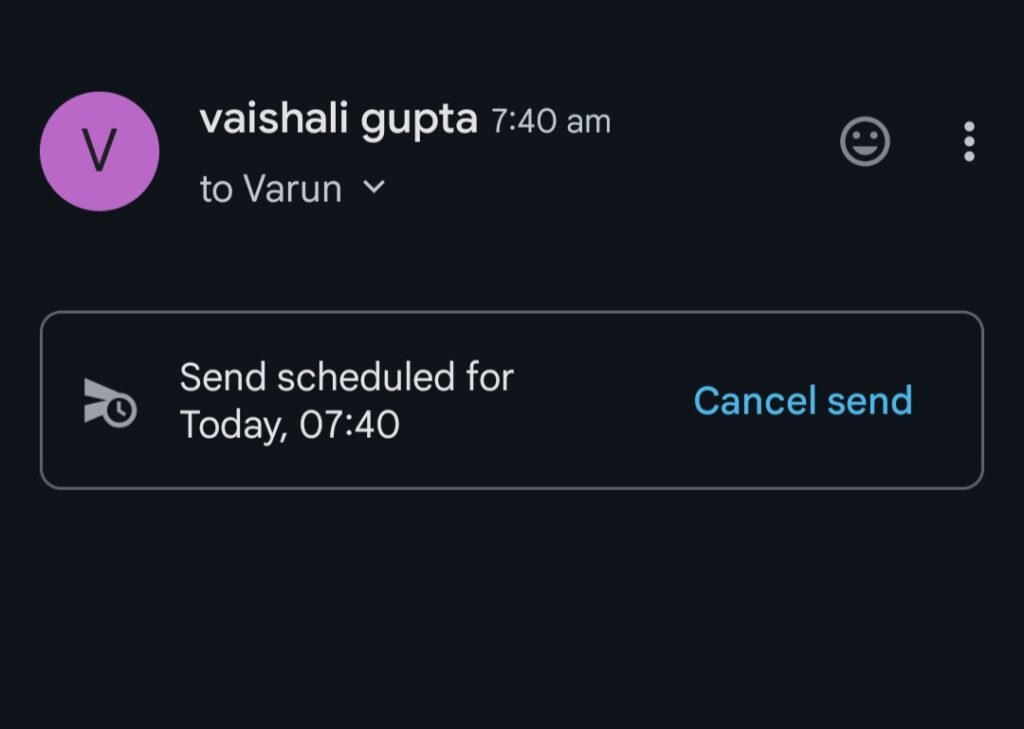
- Open and review the mail once more.
- Here, you will find the option to cancel send. Click on that if need be.
- Once you click on cancel the scheduled email, it automatically goes to the draft section, where you can edit it to correct any mistakes in the mail.
- Furthermore, you can change the scheduled time by clicking on the drop-down arrow on the send button of the draft on the browser or find the option to “schedule send” by clicking on the three-dot icon on the App.
- From there, you can choose the new time and date and click on schedule send again to confirm.
If you have multiple scheduled emails that you want to cancel, repeat the same process to transfer them into the draft section and delete them from there.
How Does Scheduling Email Messages Help?
- Scheduling emails enables you to deliver an early message to a person even if you are not physically available to create the email manually at that time. Like a school report with a brief time window for submission, during which you may not be available to click the send button.
- If you are emailing across the globe or in widely different time zones, it can be difficult to send emails at a time convenient for both. Scheduling the mail will help you ease the trouble.
- Suppose you want to send a reminder mail at a specific time to an individual but do not have time to manually send the message at that moment, you can schedule the mail at an earlier time and ensure that the reminder message is sent at the exact time hassle-free.
- To maintain a work-life balance, you may not like to send work-related emails during your personal hours. This way, you can write the message during work hours and schedule it for whatever time it is required to be delivered.
More on Gmail:
- How to Sign In with a Different User Login for Gmail
- How to Find Your Gmail Contacts
- How to Fix Gmail Sign In Page Issue
Conclusion
These are the ways through which you can easily schedule email messages in Gmail. Furthermore, you can edit and cancel the mail anytime you want. Now, you can prepare better, manage work swiftly, and stay ahead of your schedule every time.