People often upload videos on their newly created YouTube channel in a rush of the moment, thinking nobody would ever actually see them. However, once they start getting views, many decide to remove the videos or make YouTube videos private from the public settings. This is also an excellent alternative for people wanting a platform to share their homemade videos with family and friends while keeping them private from strangers’ attention and comments.
No matter your reasoning, the end goal is to make YouTube videos private, and luckily this has been made extremely easy by YouTube. You can quickly change the privacy settings of an uploaded video on your channel or prevent it from going public at the time of publishing it on the platform. Here is how to do it:
Make YouTube Videos Private on the Web Browser
If you haven’t yet uploaded the video on your channel but are in the process or planning to upload it in the future, carefully read these steps to learn how to make YouTube videos private before uploading them.
- Sign in to your YouTube channel through YouTube Studios.
- Select the option to Upload Video on the channel and choose your video from the desktop drive.
- Enter details such as title, thumbnail, subtitles, and description and click on next.
- You will see a visibility section, select the option and then choose one of the following methods:

Unlisted: If you make your videos unlisted, nobody will be able to search for them. The only way through which others can view the content is by sharing the URL. This is a great way to prevent strangers from finding your videos on the search result; instead, only family and friends will be able to access it if you choose to share the URL with them.
Private: This option will prevent everyone from viewing the video despite having the URL. Only those who have access to your channel through which the video has been uploaded will be able to view it. This is more of a content backup feature than a content sharing option.
After you have selected the option, choose Save. Your video will be uploaded with the privacy feature turned on. If you would like to make this content public in the future, you can always change the settings after uploading.
Change the Privacy Settings on Existing YouTube Videos
This option is perfect for people who want to hide their previously uploaded public videos on the platform. In this way, they can pull it out of the public eye while still having access to it whenever they want. Here is how to make an uploaded YouTube video private.
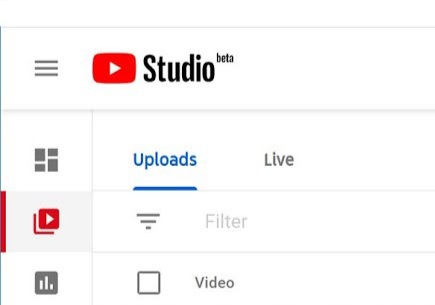
- Open the YouTube account on YouTube Studios.
- In the dashboard on the left side, select Videos. This will open a list of videos uploaded on your channel. If you have uploaded Live Videos, you can slide to the Live tab to edit the privacy settings of those videos.
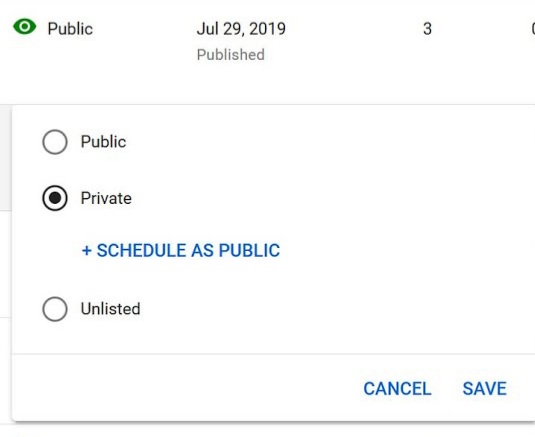
- In the list, you will see a visibility column. By default, it may be set to public; click on it to edit.
- A pop-up will open for you to select between Private, Public, and Unlisted. Select your choice and Save.
This is how you can easily make your YouTube videos private. If you want to apply the same settings on all your uploaded videos, you can choose the Select All checkbox on the top-left corner and change the visibility settings. This will prevent you from going to individual video settings one by one and wasting time doing it manually.
Use Mobile App to Change Privacy Settings
In case you don’t have access to a PC or Laptop, you can use your mobile app to make YouTube videos private. The interface is almost the same, but the steps can be different. Here also, you can make the videos private when uploading them or even after you have published them.
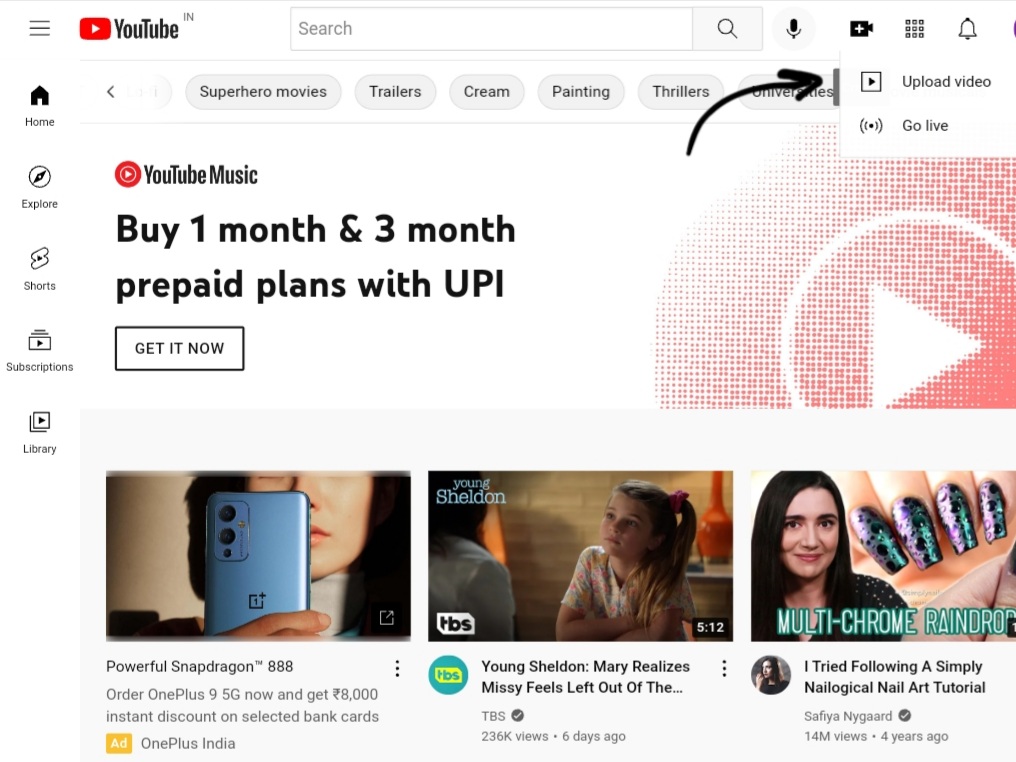
- Open the YouTube app and select the Upload video option in the mid-bottom.
- Fill in the details, like the title and description.
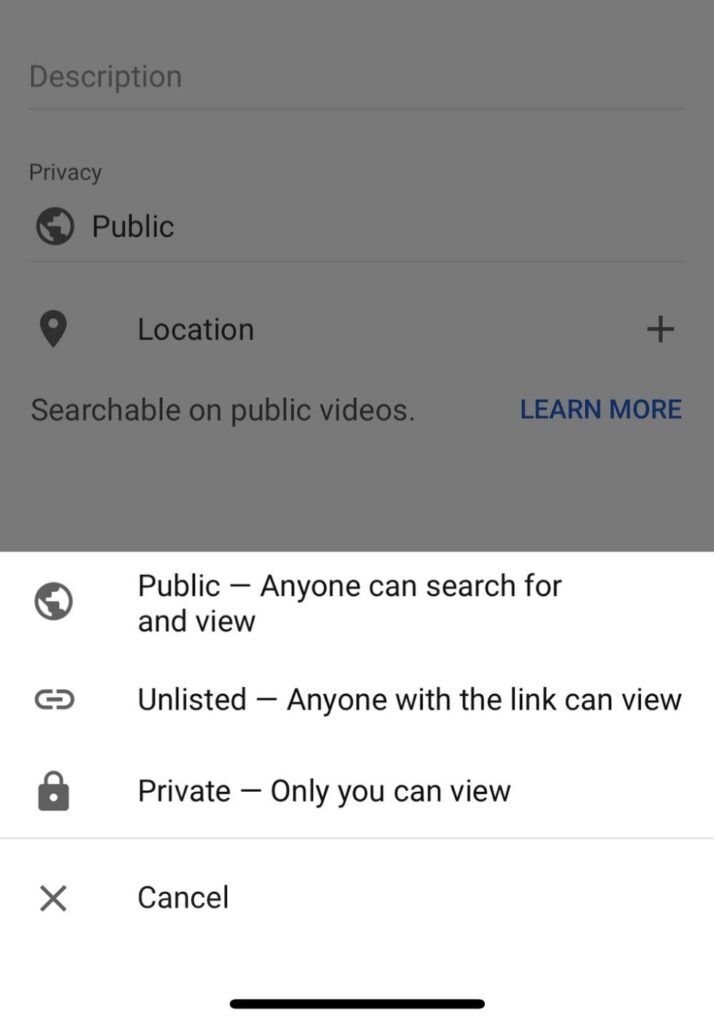
- On the add details page, you will have the option to change its visibility which is set to public by default. Click on it.
- In the pop-up, you will be given the same three options. Select the one you prefer.
After getting published, your video will have the chosen settings of visibility.
Change the Privacy Settings on Published YouTube Videos on the Mobile App
If the video is already uploaded, you can still change its settings using the mobile app.
- In the YouTube app, go to the library section at the bottom.
- Select My Videos.
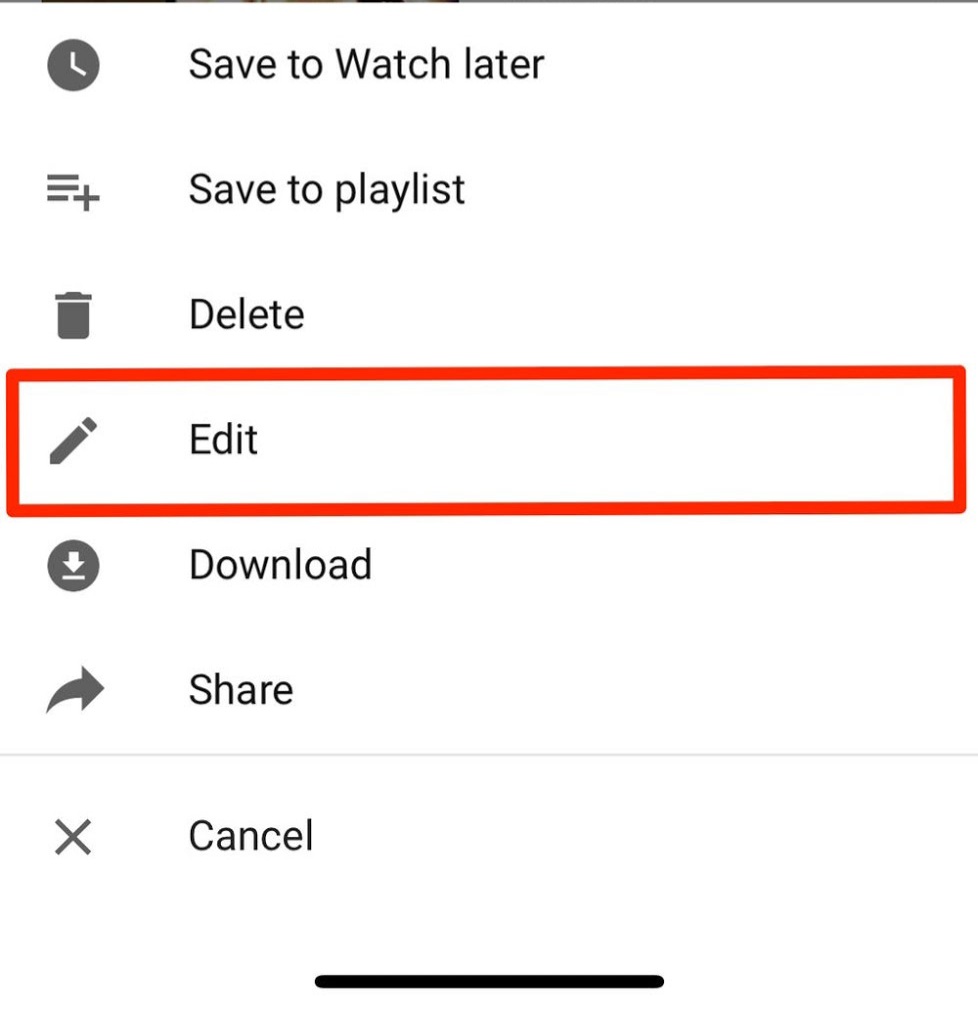
- Find the video from the list of uploads you want to make Private. Then select the three-dot icon. This will open a settings menu for the video, and tap on Edit from it.
- On the edit page, find the privacy section of the video. Here you will see it is set to Public. Please select the option to change its settings.
- Choose between Public, Unlisted, and Private in the pop-up and click Save.
The desired video on your channel will be set to Private or Unlisted. Now you don’t have to worry about unwanted views on your private videos and can share them only with your friends and family. Or, if you want, use this feature as a backup storage option for your content.
- How to Change Your YouTube Profile Picture
- How to Delete a YouTube Channel
- Unblock YouTube – How to Watch Restricted YouTube Videos
Conclusion
This is how simple it is to make YouTube videos private. Furthermore, you can do it on your computer or laptop. Thankfully the YouTube interface has made this task super-easy for users—additionally, giving us many options on content to select following different needs. So now, you can also back up your videos on this platform by making your content private. Or, if you want to use this as a sharing service, turn them unlisted for your friends to access your content.