All of us have come across situations where we have needed to record calls on iPhone for lots of purposes. From recording a singing friend to something very serious, it is an extremely important tool. Call recorders can come handy in numerous situations.
Androids have this important feature built in. iPhones on the other hand, don’t. This is mostly because of Apple’s privacy policy. So, in this article, we will discuss how you can record calls on iPhone without the need for any third-party applications.
Method 1: Record Calls Using Another Device
This is an easy way to record phone calls on iPhone if you have access to another device, such as a second phone, a laptop, or even a recording device. Follow the steps below to record phone calls with another device:
- Put a call through to the person you wish to record your conversation with.
- Then put the phone on the loudspeaker to amplify the sound.
- Open the recorder on the other device to start saving up your conversation with the person.
Method 2: Record Calls Using the Voicemail Service
Preconditions:
- For this method to work you will need an iPhone with iOS 9.0 or later version as earlier versions do not allow the export of recorded audio files from your voicemail.
- Ensure that your voicemail inbox is not full.
- Check if your carrier allows for phone calls to be recorded as this is not allowed by all providers. Also, check if such recording is allowed as per your regional laws.
Before you proceed to record calls on your iPhone, turn off call waiting on your device to avoid possible conflicts. To do this,
Go to Settings > Phone > Call Waiting and disable the feature.

- Dial the specified number from your contact list. Once the call is established, select Add Call on the phone interface.
- Select your contact number from your address book and dial your number.
- Tap the green dial button to confirm. This will add your voicemail to the conference call.
- After the voicemail call is established and you hear a beep indicating the call is being recorded, select Merge Calls on the iPhone interface.
- This will merge both the call and voicemail recordings for the entire conversation.
- After the call ends, access this recording by tapping the Voicemail option in the iPhone menu.
- To save recorded conversations, open the Phone app and select the Voicemail feature at the bottom. Then tap the share button to email the recording to yourself or save it to your computer.
Method 3: Using a Web-Based Service
There is also a web-based service called Recordator that allows you to record phone calls on your iPhone without using an app. You only pay for what you use, there are no recurring charges for using this service.
Here’s how to record calls on your iPhone using this web-based service:
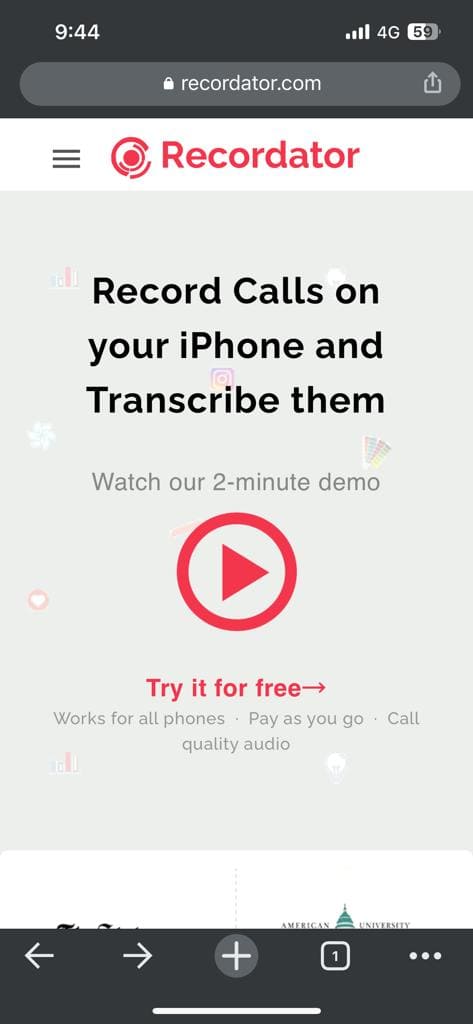
- Create a free account on Recordator and log in.
- After signing up, call toll-free +1-888-829-2045 if you’re in the US (if you’re not in the US, you can use these other methods).
- Once the call connects to the number, use the iPhone’s Add Call button to call the recipient. The recipient of the call will see your number on their phone just like a normal call.
- After the call is connected to the recipient, press the Merge Calls button on the call screen. This creates a three-way conference involving the call recipient, you, and her service provider. Sound streams received from service providers are recorded and stored in your Recordator.com account.
- Listen to call recordings available in your Recordator account, download them in MP3 format, and share them online.
- After the call ends, access this recording by tapping the Voicemail option in the iPhone menu.
- To save recorded conversations, open the Phone app and select the Voicemail feature at the bottom. Then tap the share button to email the recording to yourself or save it to your computer.
Method 4: Record Calls Using Google Voice

Google Voice is known as a free VoIP service available only in the US and Canada. The app provides a free phone number and voicemail inbox and also gives you the privilege of making both domestic and international calls. You should also know that the app also offers the ability to record phone conversations.
Therefore, it is convenient to record iPhone calls.
Follow these steps to record calls on your iPhone using Google Voice:
- Download and launch the free Google Voice app. Make sure you’re signed in with your Google account.
- Tap Search. This will allow you to choose a new phone number to associate with your Google Voice account
- Then you have to confirm the number. To do this, keep pressing “Next” until you are finally asked to enter your phone number. Use the code you receive to verify your Google Voice account.
- Open the Google Voice website from your Google account and click the gear icon in the upper right corner of the screen. This will open the Settings menu.
- From the Settings menu, select the Calls tab on the left side of the screen.
- Enable the incoming call option by simply scrolling down and tapping the widget connected to the option. When someone calls you from your Google Voice account, just press the 4 key on your iPhone to record the conversation.
Also Check Out:
- How to Record WhatsApp Call on Android and iPhone
- How to Wipe An iPhone Easily
- How to Change Airdrop Name on iPhone
- How to Lock iPhone Applications
Conclusion
Using these four methods mentioned in our article, you can easily record calls on your iPhone. A third-party application could also help you in recording your calls, it may even be a smoother option at times. Please ensure to use all the methods mentioned above very responsibly.
Make sure to take consent from the recorded party whenever necessary. Do not misuse the methods and record innocent people without their knowledge. With all these points in mind, recording a call should be a walk in the park for you.